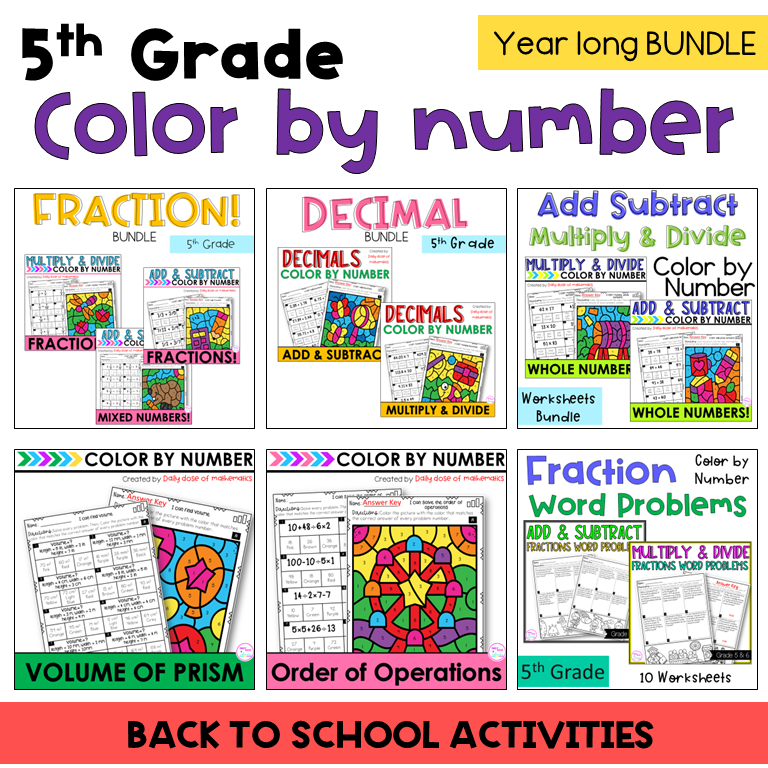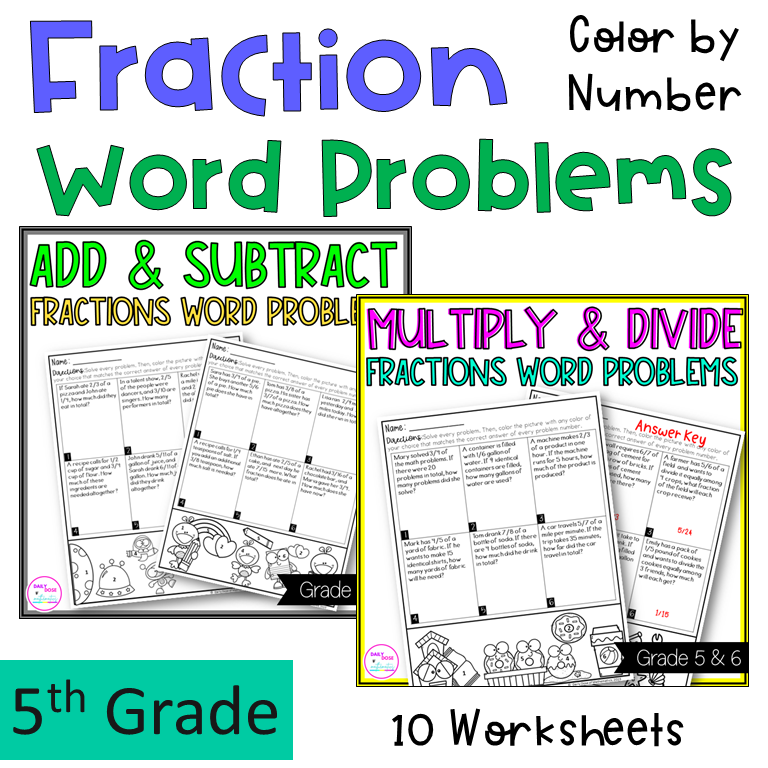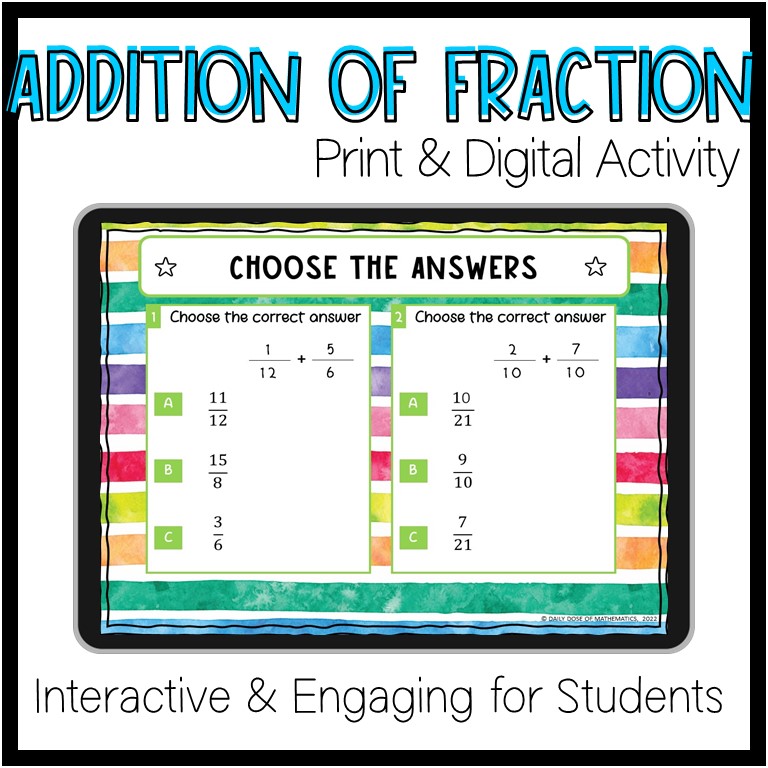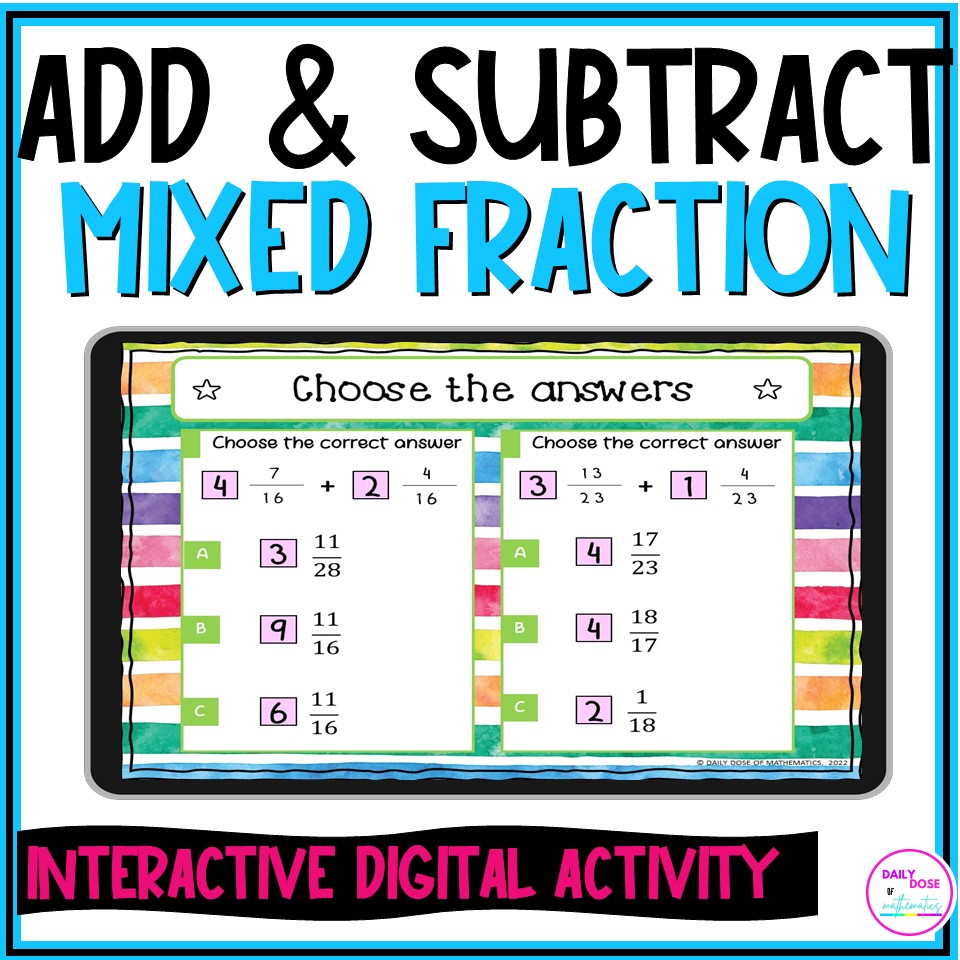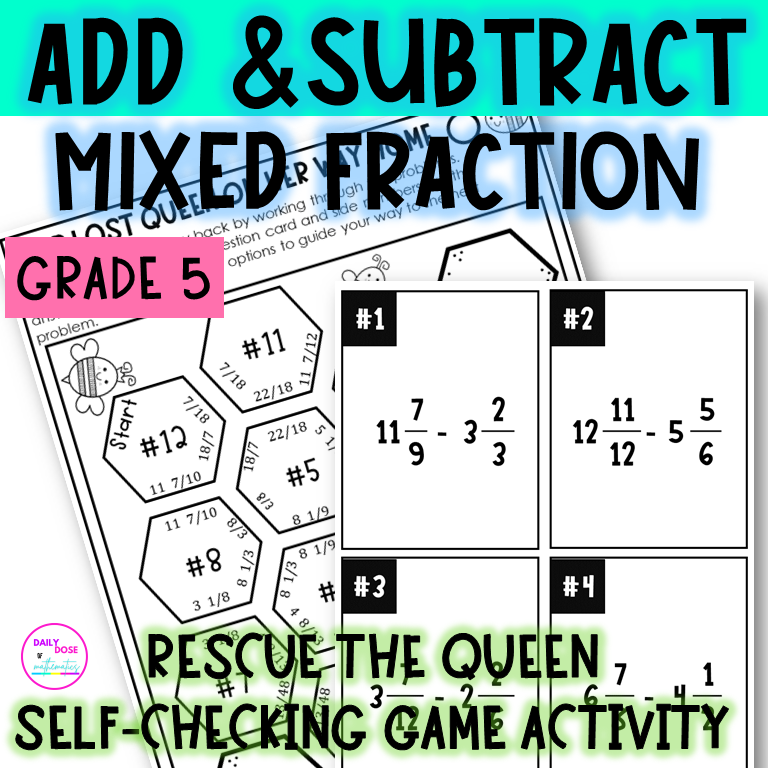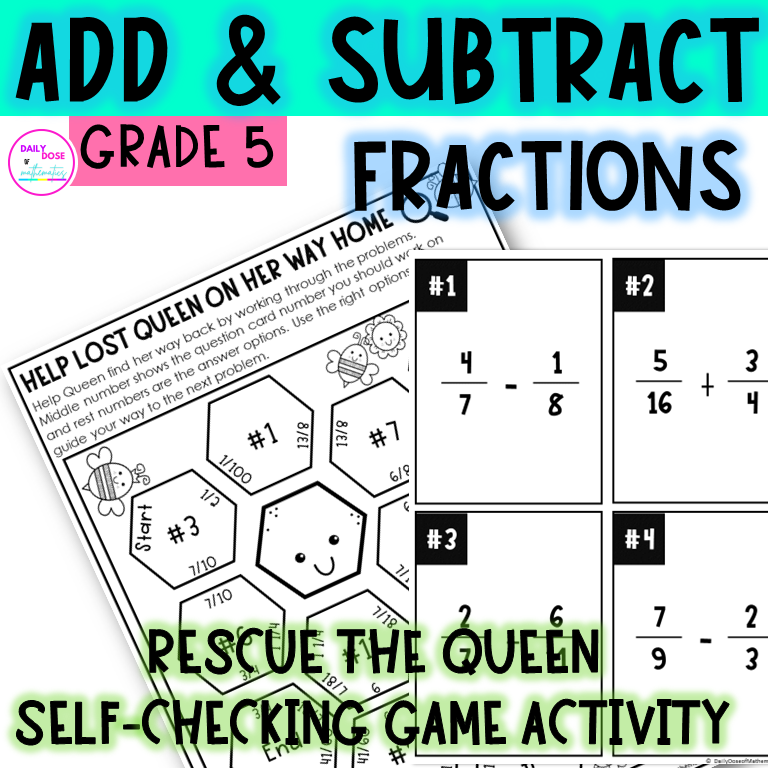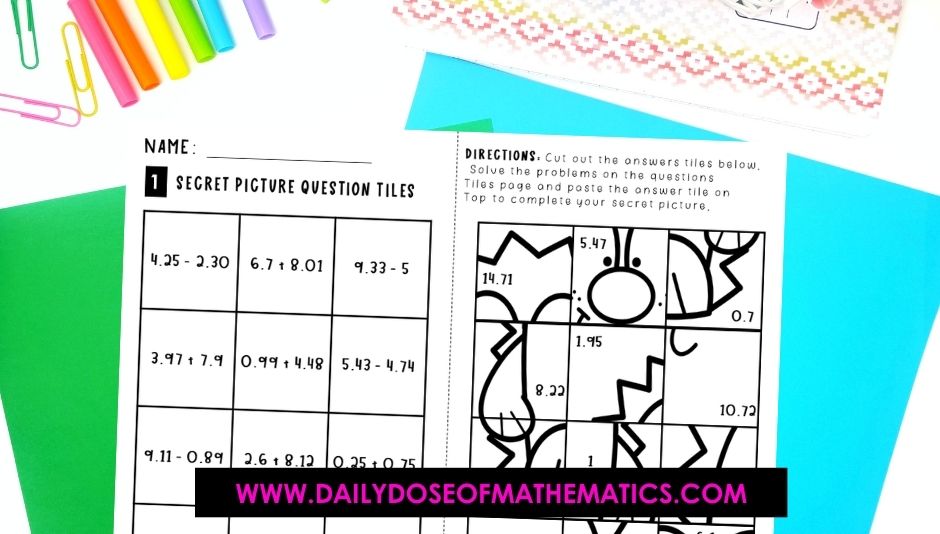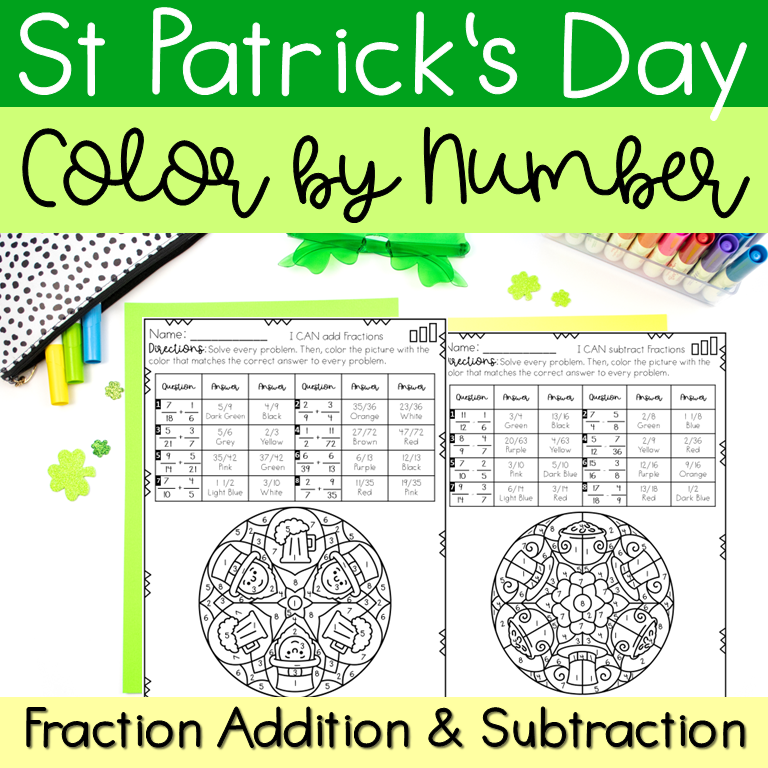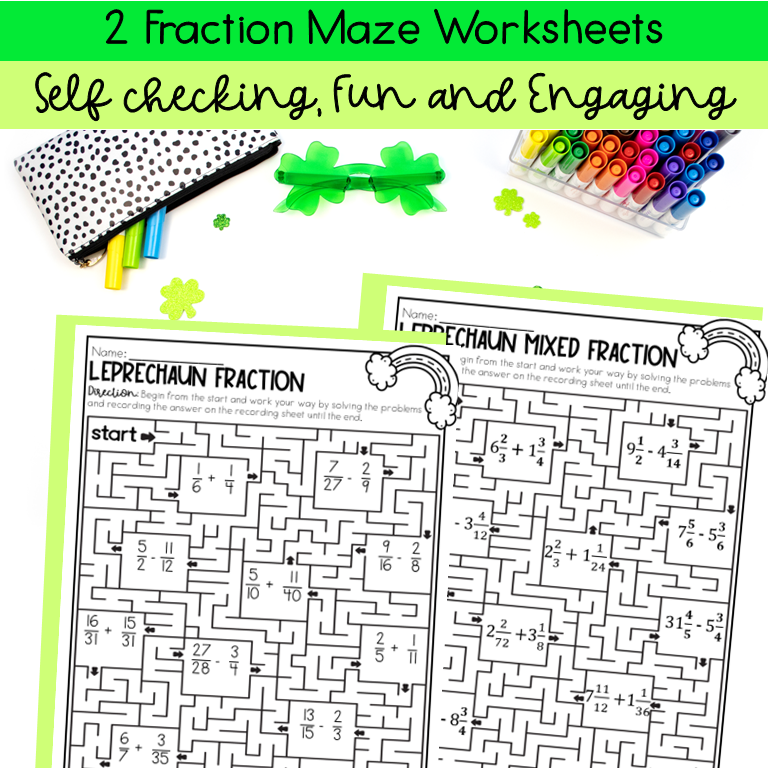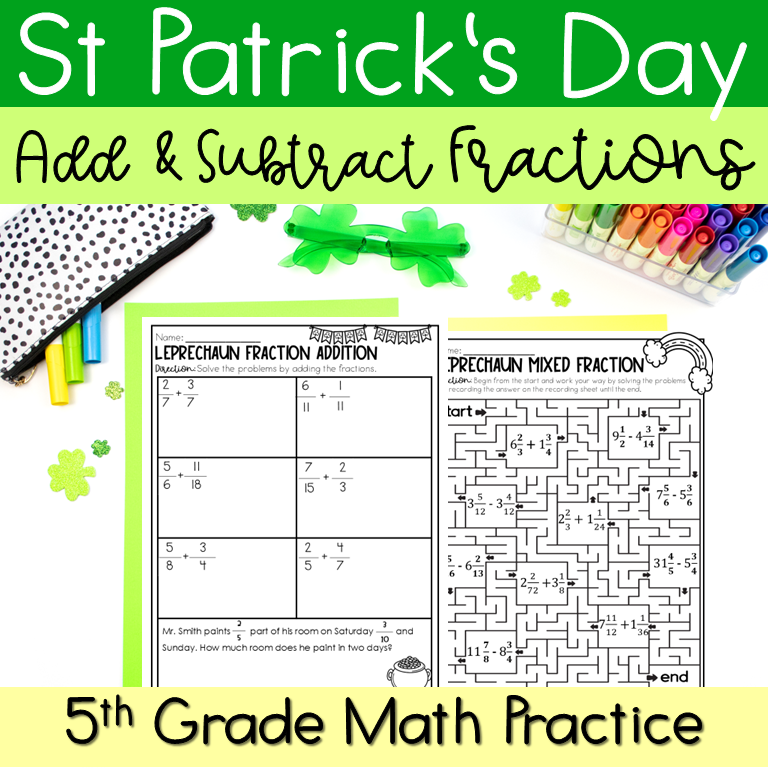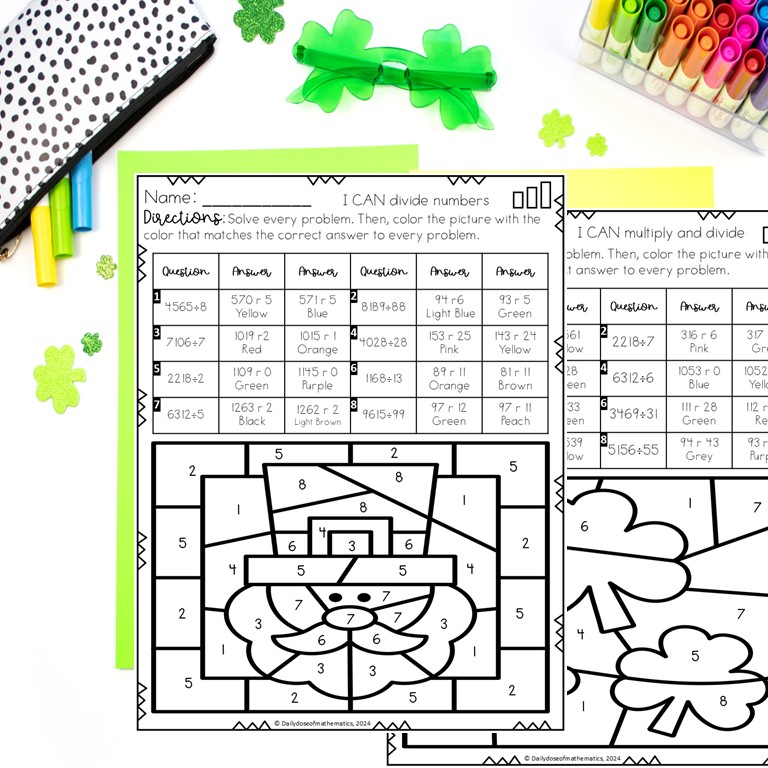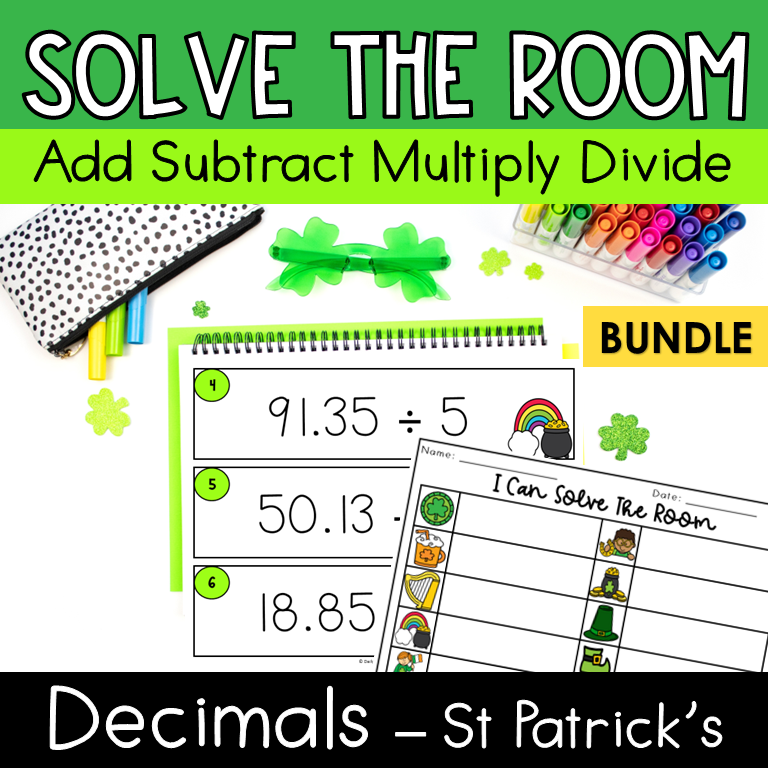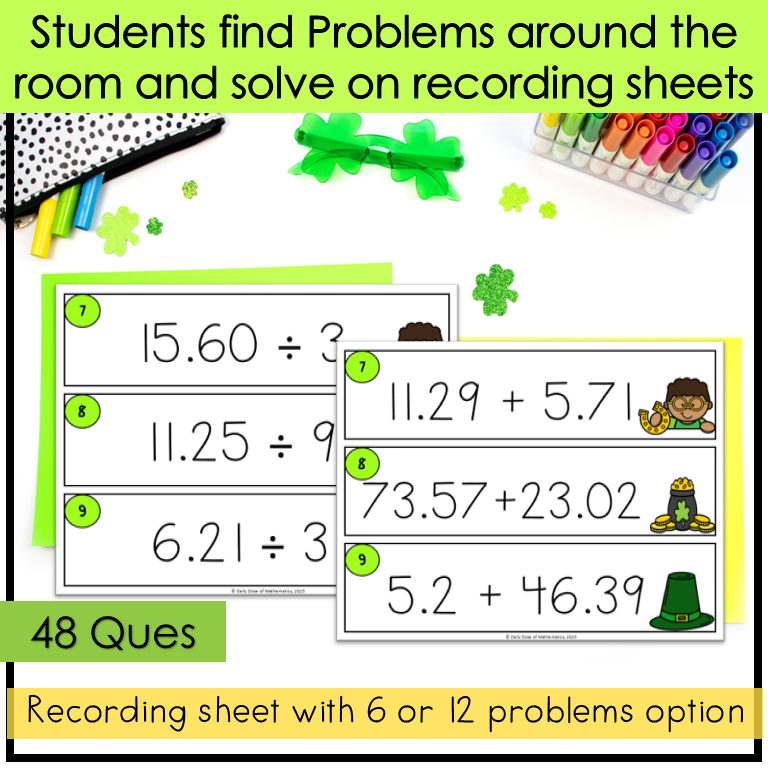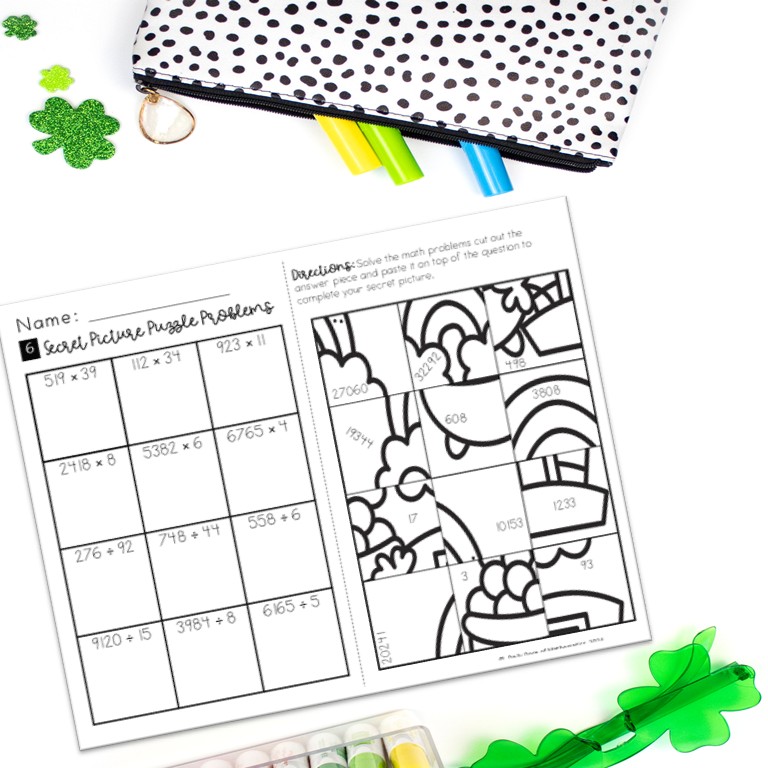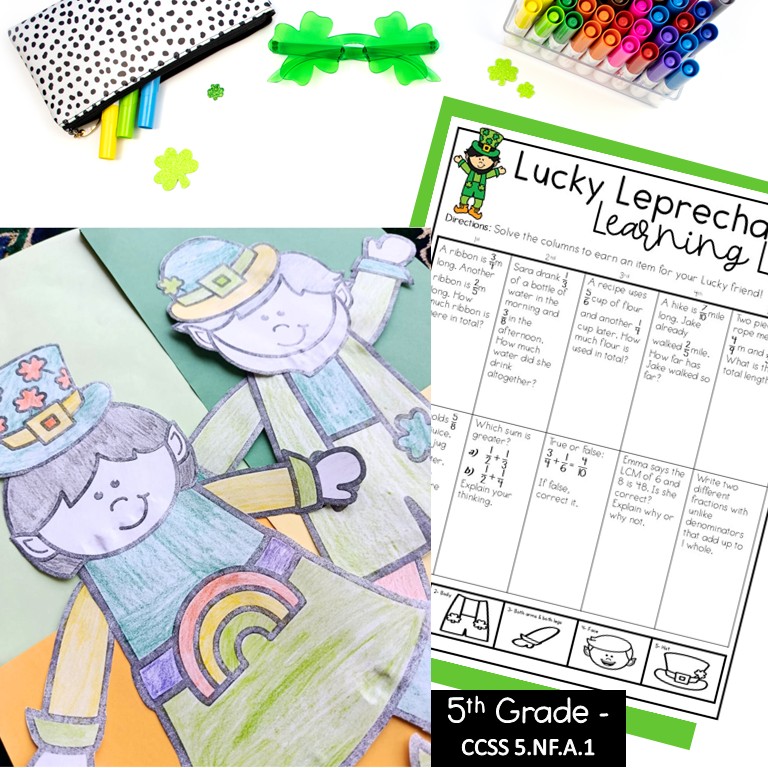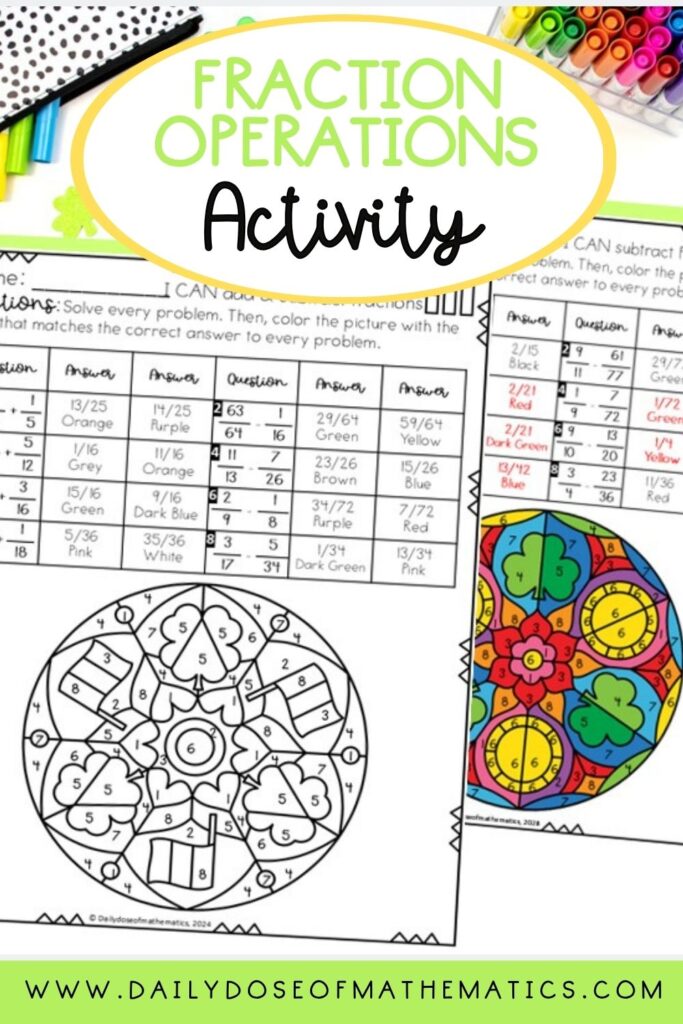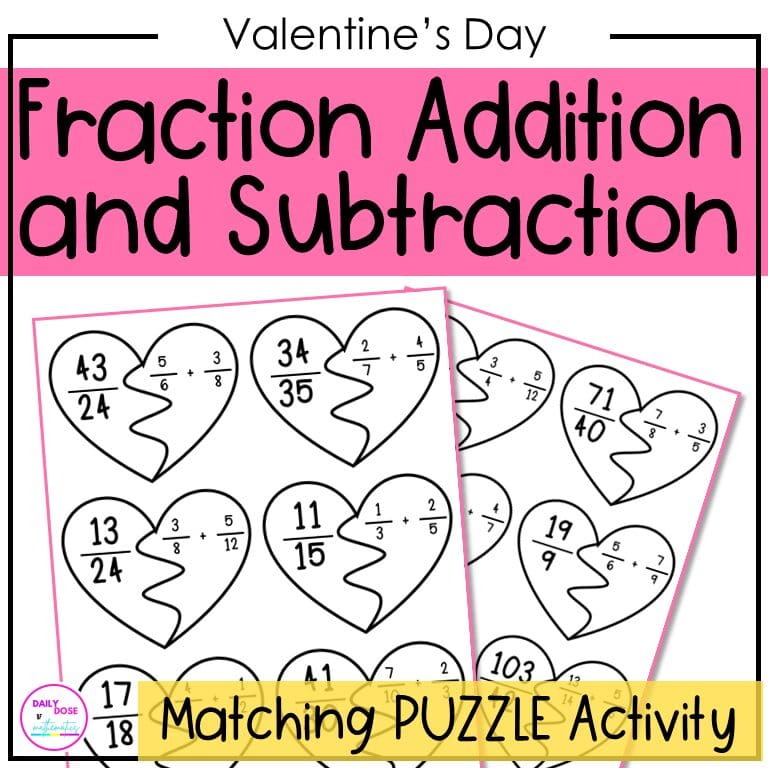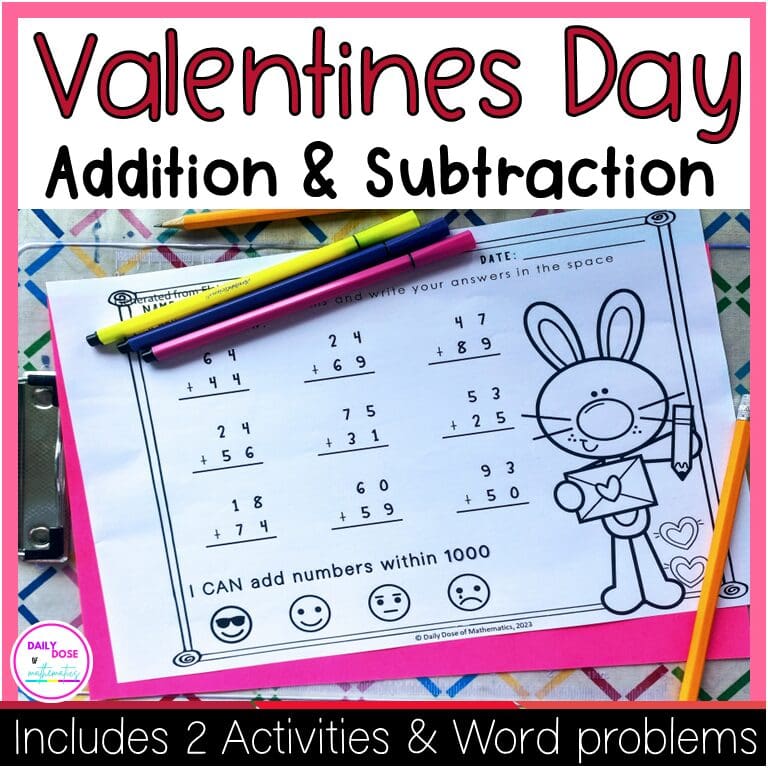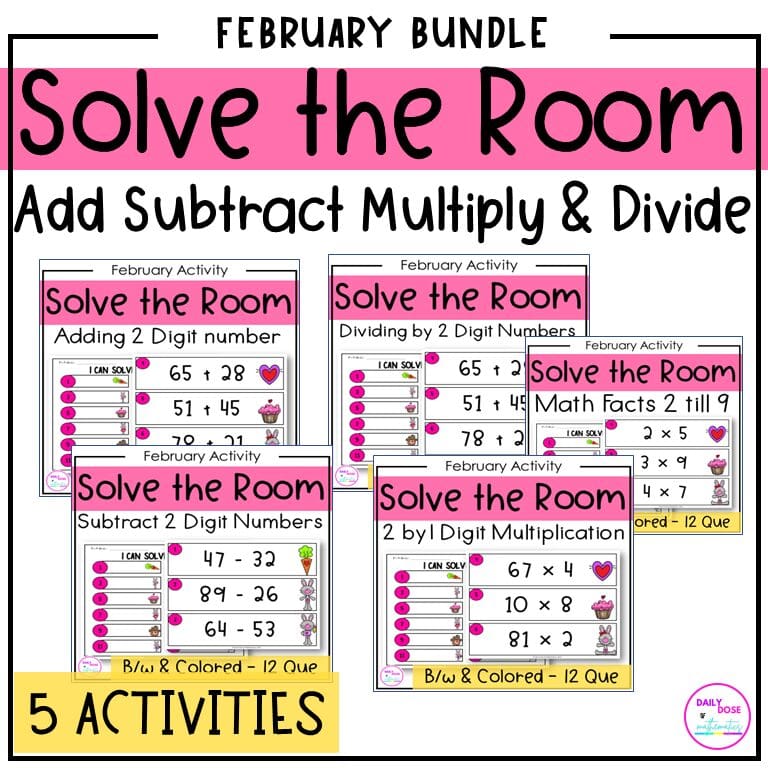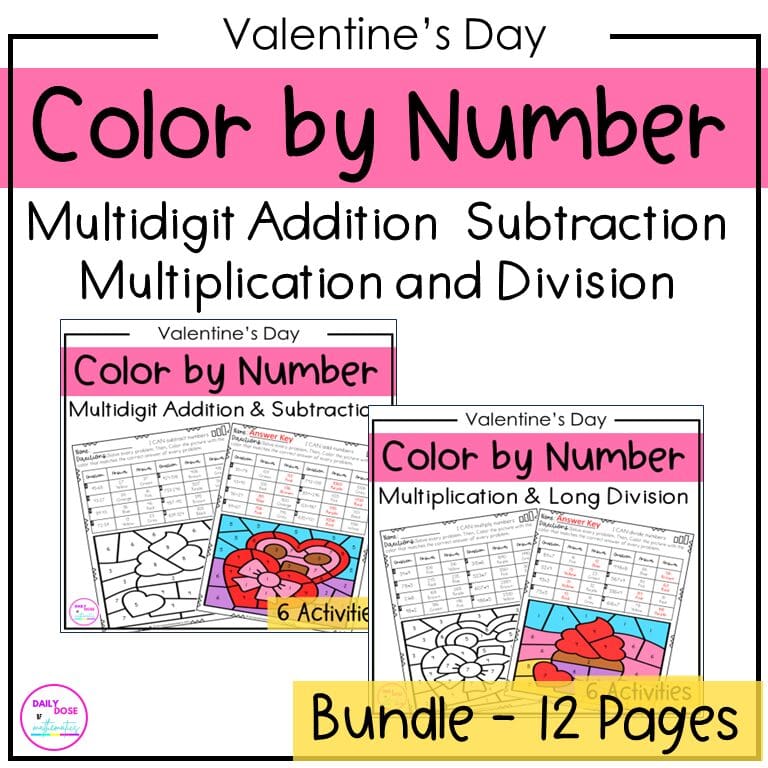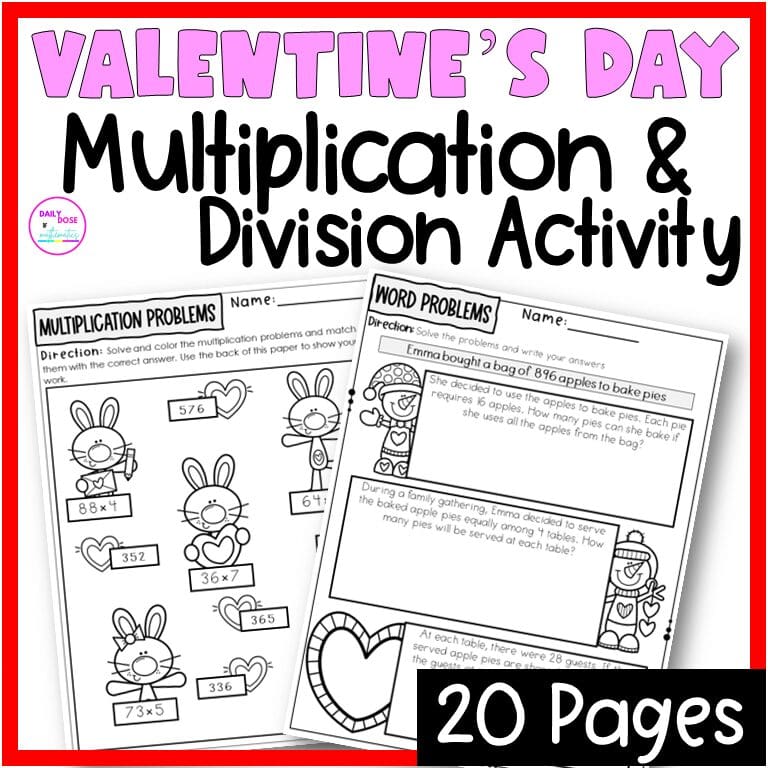
Using color by number activities in one of my favourite ways to bring excitment and fun inside classroom. I cannot tell you how much my kids look forward to using these for any topic or theme day.
Seriously its one of the best way in my opinion to keep them on the task while still interested in practicing math during math centers.
Try using the if your kids are hitting a math practicing roadblock. We even display the art result they produced in our classroom or gallery. Students feel super prod when I do that.
So today let’s discover five easy ways you can implement math color by number worksheets so you can have an engaged class that’s excited to work on them.
What is a Color by Number Worksheets:
Color by number worksheets aren’t just art and math combined today, instead they are a sure way to give your kids a more engaging and educational experience that they might miss out on during a traditional learning environment.
This way of practicing math provides a structured way to kid’s daily math practice. Today, I’m about to sow you how I use them to add engagement for any topic you want to teach be it fraction operation including word problems or order of operation along with decimal operations.
Why to use Color by number worksheets for developing understanding:
Using art in our daily learning is a fantastic way to increase our kid’s educational experience. Think of it this way: your kids solving math problems and revealing a historical place, figure, or even a themed art piece to set the mood for some festive spirit.
Coloring is also a calming activity that reduces stress and keeps them focused on the task while developing fine motor skills. This is one of the reason why I use color-by-number worksheets as a terrific way to keep them on track with their daily math progress while having fun.
Customizable Math Teaching Tool:
Every child is different, and no 2 kids can learn the same way. Customizing color by number worksheets to fit their needs and learning styles can drastically boost student’s engagement.
Here is how I achieve this. I display the finished color by number worksheets inside our classroom or hallway, which encourages students to perform better and acts as a reward for their hard work.
Develops Emotional Intelligence:
This type of activity not only gets student’s creative juices to follow but also keeps them calm and organized. This enhances their emotional intelligence and stamina to endure more demanding challenges in the learning process, which we as a teacher always strive for.
Independent and Self-Checking Practice:
If I had to pick one reason among all the above, this one would always surpass the rest. The most important thing any teacher wants is to cut down the time used for grading so we can actually do more of what we Love, aka “TEACHING“.
Color by number worksheets are a fantastic way to facilitate independent practice of topics like area of complex figures, order of operations during the math center activities or the morning bell work, or you can even leave them for a sub day and still get the teaching stuff done while you are away.
We all know how teachers are juggling lesson plans, grading tests, meetings, and trying to manage personal time can be exhausting. That is why a teacher planner pdf should be a necessary tool in every teacher’s toolbox.
Honestly, a well-organized planner can be your best friend in creating a streamlined and well organized daily school routine.
In this blog post, we’ll explore how you can effectively use a teacher planner to bring order to your busy school days.
Why a Teacher Planner?
That’s a very interesting question, but before we address the “how,” let’s first discuss the “why.”
A teacher planner isn’t just a notebook; it’s a comprehensive tool designed to help you manage your time, tasks, and priorities.
Not only this it also offers a common place to keep track of your lesson plans, schedules, student progress, and administrative tasks so you can have everything in one place.
Think of it as a hub for all your day to day activities.
This drastically reduces the stress about missing deadlines and increases productivity.
The result: you get to have more time doing what you LOVE, aka actual “Teaching” not just paper work or admin tasks.
Choose the Right Planner: First, select a planner that fits your needs. Look for one that includes sections for daily and weekly planning, monthly overviews, and room for notes.
Ensure it has enough space to write detailed plans and record important dates.
Personalize It: Add tabs for quick access to different sections.
Use color-coded stickers or highlighters to differentiate between various tasks and priorities. Personalizing your planner makes it more enjoyable to use and easier to navigate.
Step 2: Map Out Your School Year
Annual Overview: Start by filling out the annual overview section. Mark important dates such as holidays, professional development days, parent-teacher conferences, and end-of-term deadlines.
This gives you a big-picture view of the school year and helps you plan ahead.
Monthly Breakdown: For each month, break down the key events and deadlines into manageable chunks. This might include units of study, major projects, and assessment periods. Having a monthly plan helps you stay on track and makes sure you don’t miss important events.
Step 3: Weekly Planning
Weekly Layout: At the beginning of each week make sure to spend a few minutes planning your schedule. Outline your goals for the week, both professional and personal.
Plan specific times when you will be doing lesson planning, grading student work, and completing admin tasks.
Prioritize Tasks: List your tasks in order of priority. Focus on the most important tasks first, such as lesson planning and student assessments.
If in doubt and not able to decide what to focus on, use the Eisenhower Matrix(urgent vs. important) to help prioritize your tasks more effectively.
Flexible Scheduling: While planning is essential, flexibility is key.
Teachers always remember to leave some free time in your schedule for unexpected events or tasks that arise from time to time and need to be done asap.
This will help you adapt to changes without feeling overwhelmed in the long run.
Step 4: Daily Routine with Teacher Planner PDF
Morning Routine: Start each day by reviewing your planner. Check the day’s schedule and tasks, and make any necessary adjustments. A quick morning review helps set the tone for a productive day.
Lesson Planning: Use the daily sections of your planner to jot down detailed lesson plans. Include objectives, materials needed, and key points to cover.
This keeps your lessons organized and ensures you’re prepared for each class.
Task Management: Throughout the day, refer to your teacher planner to stay on track with tasks. Tick off completed tasks and make notes of any new ones that arise.
This not only keeps you organized but also gives a sense of accomplishment.
Step 5: Reflect and Adjust
End-of-Day Review: At the end of each day, spend a few minutes reviewing what you completed that day.
Note any tasks that need to be carried over to the next day. This reflection helps you understand your productivity patterns and make necessary adjustments.
Weekly Reflection: At the end of the week, review your planner to see what worked well and what didn’t.
Use this insight to improve your planning for the following week. Reflecting on your successes and challenges helps you grow and adapt as a teacher.
Tips for Effective Use Teacher Planner PDF
Consistency is Key: Make using your planner a daily habit. Consistent use is crucial for reaping the benefits of an organized routine.
Stay Flexible: While a teacher planner pdf helps you stay organized, life can be unpredictable. Be flexible and willing to adjust your plans as needed.
Make It Enjoyable: Add a personal touch to your planner. Use colorful pens, stickers, and motivational quotes to make it a tool you enjoy using every day.
Leverage Technology: Combine your paper planner with digital tools. Sync your teacher planner pdf with your online calendar and set reminders for important tasks and deadlines.
Overall I would say a teacher planner is more than just a scheduling tool. It’s a powerful resource that can transform your daily routine.
By planning your year thoughtfully and mapping out your whole school year like planning weekly, managing daily tasks, and reflecting regularly, you can streamline your workflow and increase your teaching effectiveness.
But make sure to use it as a guide and not a strict rulebook. The key is consistency and flexibility. Happy planning!
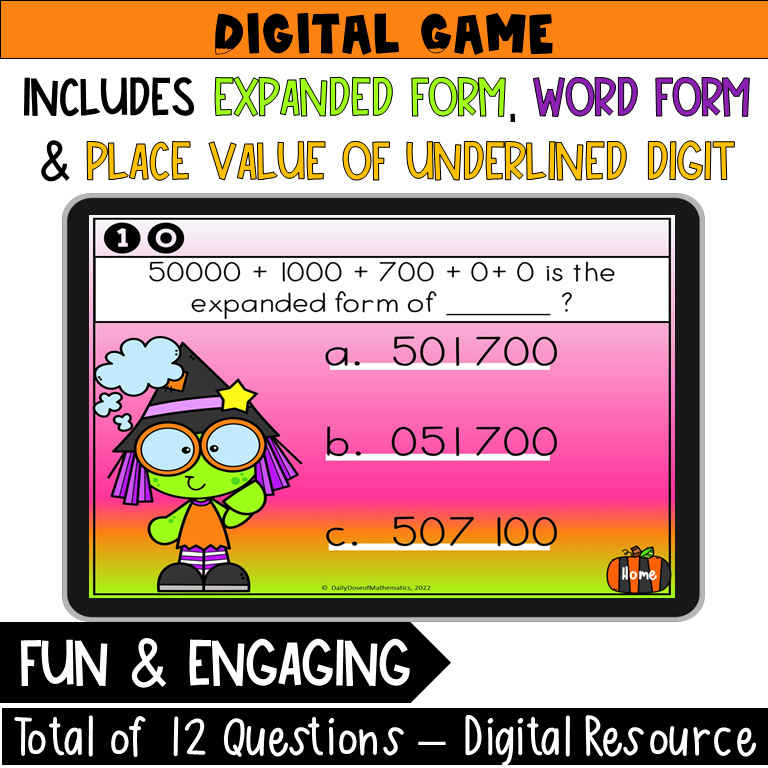
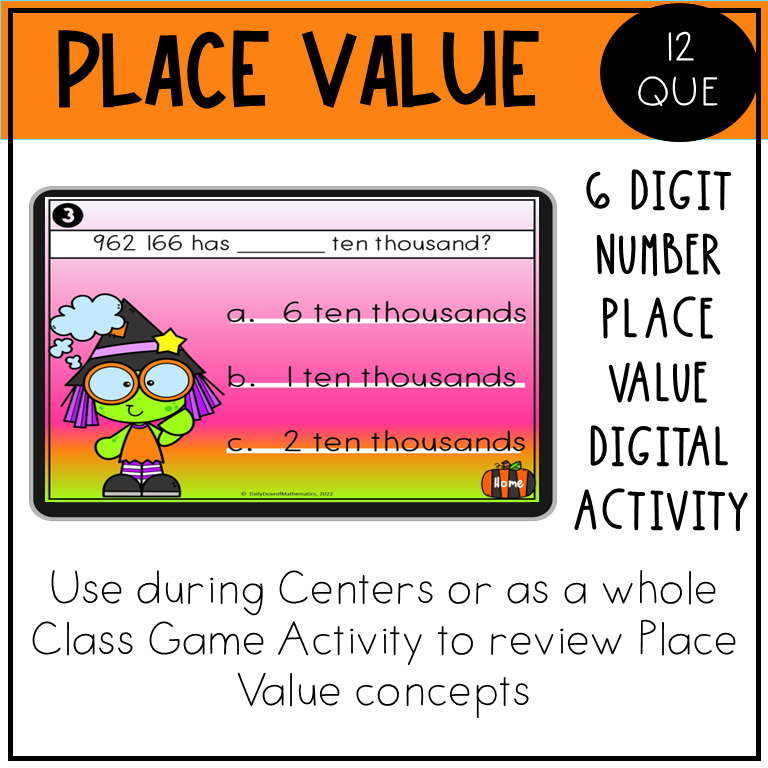
Looking for some Fun and engaging Halloween math activities to keep your kids busy? Try out these “PICK A WITCH” Digital Game activities with your class and see their excitement skyrocket.
This resource is an interactive digital game which you can use to review or assess your kids place value understanding during their centers time or as a whole class activity.
Here is how the Game Works:
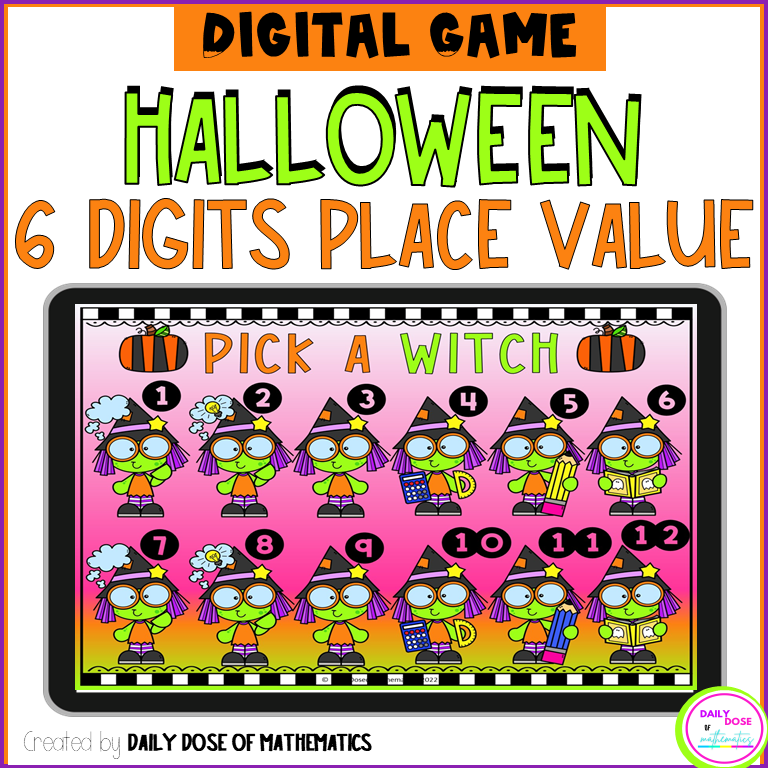
“PICK A WITCH” Game activity is designed to help your kids practice and review the place value of larger numbers like 6 digits in a fun and engaging way.
The resource is a compressed file that unzips to a PowerPoint Activity. The Game activity has 12 question slides and 1 main i.e. “PICK A WITCH” slide.
Display the main slide on the projector and divide your kids into 2 teams. Now tell them to pick a number. The number that they pick you have to click on it to display the question. Once the kids see the question he or she has to answer the question.
You can also award 5 score points to every right answer. Once all the questions have been answered by kids. You can add all their scores and announce which team has won.
All the numbers from 1 to 12 on the first slide are clickable and linked to that specific question number slide. There is a Home button on every question slide to access the main Questions slide which makes it an interactive and super fun game that kids enjoy.
The 12 questions allow you to complete the activity in one go with your class. But it only uses 6 digit numbers. You can use it for fast finishers or as centers digital activity.
All right, so we’re diving into the exciting and full of fun world of… 3 digit addition. As a math teacher myself, I know what you might be thinking! I know, I know. ‘three digit addition’ and ‘exciting’ are two phrases that you probably never expected to see in the same sentence. Yet, here we are!
But for a moment, I want you to picture this: your kids, completely absorbed, their minds buzzing away as they add numbers. No more expressionless eyes, no more “Do I have to?” Instead, they’re eager. They’re engaged. They’re learning. Sounds like a far-off dream? Well, it isn’t, and thanks to the gamified math lessons, this could be the reality of your classroom.
I remember when I was a kid, and math felt like a tedious chore. But honestly, I do not want that for my kids in the classroom, so it’s time that we as math teachers, put those days behind us.
Let’s make learning two and three digit addition and subtraction worksheets a game — literally. How? Here is a step by step month-long journey to transform 3 digit addition from ‘Ugh, not again!’ to ‘Can we do more?’ in your classroom.
Week 1: Nailing the basics of the concept of 3 digit addition
Ever tried to build a castle on sand? It’s a shaky business, right? The same goes for 3 digit addition with elementary students. If you’re shaky on the basics, teachers! Well, you’re setting your class up for a castle full of confusion. Let’s clear the air on this. Shall we?
Now, for your kids to understand 3 digit addition with and without regrouping, you first need to make them recognize the importance of place values. They should’ve got hundreds, tens, and ones down. To clarify this concept to your kiddos, you can tell them to picture hundreds, tens, and ones as three shelves in a bookcase, each with a specific spot for its ‘book’.
But the thing to remember here is that it’s essential for the numbers to go in their right place. Misplace the numbers, and you’ve got chaos!
Then comes the tricky bit: carrying over. A common hiccup, often as mystifying as a magician’s trick. But it does not have to be that. You can simplify it further for them. So, if your ‘ones’ total more than 9, you ‘carry over’ the extra to the ‘tens’ shelf. Same rule for the ‘tens’ to the ‘hundreds’. It’s like when you’re packing a suitcase, and it overflows – you need another bag!
Now, what about gamification in math? Think of it like turning broccoli into a superhero. Kids love games, right? So why not use that love to turn learning 3 digit addition and subtraction with and without regrouping into a thrilling adventure?
Gamification takes the chore out of learning, and makes it interactive, and here’s the important part: it leverages our innate love for rewards. There are several platforms and tools for gamification, with different colors suited to different needs.
Week 2: Preparing the Gamified 3 Digit Addition with and without regrouping Lessons
So you’re ready to transform your class into a gaming field. But which platform to choose? It can get overwhelming pretty quickly if you do not know exactly what you are looking for. More like being in a candy shop with infinite choices.
But what I can tell you from personal experience is that features, user feedback, and, most importantly, compatibility with your class size, age group, and tech comfort is all that matter.
Selecting a platform is just the beginning. Next, you’ve got to figure out a way to add your triple digit addition and subtraction curriculum to this platform. Initially, it might feel like you are doing a puzzle. You need to break down the curriculum into daily and weekly objectives, making sure each game fits seamlessly into the learning process.
Now the most important part here is to remember, that variety is the spice of your classroom! Mixing up games and keeping the interest alive is what you should aim for. Imagine being served the same dish every day. Boring, right? The same goes for your class. So spice it up with a variety of games.
Week 3: Rolling Out the Gamified Lessons
Now comes the big reveal. Introducing the new approach to students can be a dance as delicate as a ballet. The aim? To make sure they understand how the platform works, how it’ll be integrated into their learning, and – this is key – why it’s gonna be super fun.
As the lessons roll out, be ready to wear the hat of an eagle-eyed observer. Tracking progress, and providing feedback, it’s all part of the game. It’s like being a coach on the sidelines, guiding and cheering on the players.
Wanna know what I use to add a gamification touch to my 3 single digit addition worksheets in class,check this out on TPT!
Week 4: Evaluating Progress and Getting Ready for the Quiz
After the lesson is been done and you feel like your students get the concept it’s time for the big day! I mean Quiz day! Although students dread to go through a quiz, not in our gamified class! Here, quizzes are designed to mimic the game-based problems, making them less of a scary monster and more of a friendly challenge.
You can offer your students study aids and revision sessions to help them clarify any gaps in their learning. A little extra help won’t hurt anyone. Alongside this, you can gather progress reports for each student. Here you’re not just looking at who’s soaring and who’s stumbling but also pinpointing the areas where students commonly trip up.
And now, the finale of week four: prepping for the quiz. Make sure to review the main concepts, but more than that, ensure the students have a clear concept of the topic and what lies ahead.
You can even use these riddle Worksheets to evaluate your student’s early progress.
Quiz Day: The Ticket to 3 digit addition with ans without regrouping worksheets Stardom
Now comes the day the students have been working towards. The quiz. It’s the chance to put all that they’ve learned to the test.
The quiz results aren’t just numbers but celebrations of success and stepping stones for further learning. Each correct answer calls for a small classroom celebration, and each misstep is an opportunity to learn and improve. Remember, every cloud has a silver lining.
So there you have it. But remember it’s not just about the numbers, but about making learning an experience. It’s about taking those dread-filled, yawn-inducing lessons and turning them into a journey of exploration, excitement, and fun.
So, if you want to break the chains of traditional teaching and think outside the box, it’s time that you implement these strategies into your classroom and play. Gamified lessons aren’t just an educational trend. They’re the key to exposing engagement, sparking curiosity, and making your students not just learn but love the process.
Especially in a world where children are often glued to screens and gadgets, gamifying math lessons can serve as a link in our classrooms that merges education with entertainment in the most effective manner. So in order to take the ‘boredom” out of traditional math lessons and transform it into an exciting experience that students can enjoy while learning new math skills at the same time it’s more like a necessity now.
As teachers, it’s our duty to make sure that every child in our class experiences the thrill of learning. With the right tools and approach, even the most seemingly mundane topics like 3 digit addition can become adventure journeys for exploration. By continuously experimenting with new techniques and, most importantly, making math fun we can make math exciting for our young generation. After all, isn’t that what education should be – an exciting journey of discovery for our students?
Remember, the journey of a thousand miles begins with a single step. You’ve got this. Just imagine, a classroom humming with excitement, picture the pride on your students’ faces when they nail a complex 3-digit addition problem, not because they had to, but because they wanted to.
Conclusion:
You have the power to turn ‘boring math Class‘ into ‘bring it on!. To replace sighs of boredom with cheers of excitement. To transform ‘I don’t get it’ into ‘I did it!’.
Since the methods of teaching in education are always evolving, it’s crucial that we continually seek methods that not only enhance the learning experience but also ignite a passion within our students.
Gamified math 3 digit addition lessons can bridge the gap between conventional teaching and the digital age. By transforming the seemingly mundane task of 3-digit addition practice into an engaging journey, we aren’t just teaching numbers – we’re nurturing a love for learning.
The unexpected joy and enthusiasm that arise from such methods prove that with the right tools and mindset, even the most traditional subjects can be refreshed and revitalized. Let’s continue to innovate and inspire, turning challenges into opportunities and learners into lifelong enthusiasts. After all, when education is fun, the sky’s the limit.
Struggling to teach the area of composite figures in a way your students actually get?
Ever wondered that every time you feel like thinking about how to get started or how even to think about introducing the topic to your kids, frustration kicks in!
Believe it or not, we all have been there during our first few years of teaching.
And you’re not alone… If your kids are zoning out the second you say “area” keep reading, this post breaks it down with easy, engaging ideas that make sense (and work for all levels).
Explore the Area of complex figures in an exciting way
Let’s be real right now teaching math isn’t what it used to be. Today’s kids are growing up with TikTok-level attention spans and infinite entertainment options at their fingertips.
That means if your area of complex shapes lessons are not engaging and exciting enough, you’ve already lost half the battle.
Here’s the good news, you don’t need flashy tech or hours of prep work just to make the area of composite figures click for your students. You just need the right strategy.
So how do you teach this topic in a way that’s fun, clear, and actually sticks?
The answer: make it visual, hands-on, and connected to real life, yup, that’s right this way your students aren’t just memorizing formulas, they’re solving problems like mini math detectives on a mission hunt.
Now the question is where do you begin?
Start with the Basics:
Like I said, it all starts with basics.
And to be honest, there is no other answer to this problem other than nailing the basics!
Here is the hard truth… if kids find the lesson interesting, they are more likely to be engaged and motivated to learn about the problem, think about it, practice it, and ultimately feel a sense of confidence in their skills.
Here are the steps to help kids see math everywhere in their life.
Step 1: Help Students See Math Everywhere (Real-Life Hook)
One of the most effective ways to introduce composite figures is by showing students where these shapes exist in their world.
What it means is to check for there: Activate prior knowledge. Ask your students:
What basic shapes do you already know?
Can you think of any objects that are made up of more than one shape?
Then guide them to see that a playground, a building (maybe school) floor plan, or even a weird-shaped pizza is made of multiple simple shapes.
🟩 + 🟥 + 🟦 = Composite figure.
Your goal here is to help them realize that composite shapes are just familiar shapes combined, nothing fancy.
Step 2: Revisit the Basics with Hands-On Practice
Before diving into composite figures, make sure your students are rock solid on calculating the area of:
Squares
Rectangles
Triangles
Here is a Pro Tip: Use graph paper and have them COUNT squares to confirm what the formulas actually do. This helps your visual and tactile learners “see” the math in action.
Step 3: Decompose a Composite Figure (using engaging activities)
Once the basics are solid, it’s time for the real fun, breaking down a complex shape into smaller, manageable parts.
Here is an activity you can try in your class:
Show them a real-life layout — like a house blueprint or the shape of a playground.
Ask them to identify the basic shapes they see.
Have them outline or color-code each individual shape inside the figure.
Guide them through finding the area of each part — and then adding it all together.
Finding the Area of Composite Figures or Complex Figures (Color by Number)
Since kids have already mastered how to calculate the area of regular shapes, it’s time to introduce them to composite figures.
You can use any composite shape, like a park or a house layout, and ask what they see.
Tell them to imagine the shape as a whole building made by several small ones and treat every small shape like a rectangle, square, or triangle as a room inside the building.
Let them think about this concept for a while, and then decompose the shape into its parts and find the area of the individual basic shape.
Finding Area of Complex Figures Piece by Piece
Next, it’s time to decompose composite figures like literally breaking the big shape into smaller, familiar parts.
For better understanding, it’s good to introduce a composite figure with 2 or 3 squares or rectangles and then move on to the more complex figures.
The next step is to ask your kids how many squares or rectangles they see inside their big figures.
Have them trace or outline each individual shape in a different color and then calculate the area of each smaller part one shape at a time.
Pro Tip: Write the area inside each shape as they go to help them see their progress. Next step is to calculate the areas of these individual shapes.
Since your students by now already know how to calculate the area of regular figures, it would not be a daunting task. Lastly, ask them to add all of them together to get the total area.
Finding the Area of Complex Figures (Trending and Most Popular)
Now comes the fun part: tell your kids that we are calculating the area of the whole building, not just the single rooms inside.
They also know how to calculate it by adding the areas of each smaller shape. Basically, by summing up, kids will be able to tell what the area of the complex figure is.
Want some fun digital and printable activities to help you with this lesson?
Have you ever found yourself scanning through the room during math class, looking at a mix of bored faces, frustrated sighs, and the occasional doodler?
I know I have, and we’ve all been there. But the real challenge is making math both fun and educational for kids at the same time.
This might seem challenging during some teaching days, but what if I told you there’s a way to sprinkle a bit of autumn magic into your math lessons and get those hands eagerly shooting up with answers?
And yes, that’s possible! The best way to make kids fully involved and ready to solve some problems no matter how hard they are is by using interactive games. 🍂✨
Use these interactive Fall-themed games in your classroom for small groups during centers or as a whole class activity and see the class engagement soar.
Here’s Why This Bundle is a Game-Changer:
Engagement Overload: With a delightful “Pick a Fall Cookie” Game, learning basic operations like addition, subtraction, multiplication, and division isn’t just another math lesson. It’s an experience. One where students eagerly click through questions, challenging themselves and having a blast while at it.
Comprehensive Coverage: This bundle isn’t just about practicing a single concept like division. Oh no! Your students will dive deep into 3 digit addition and subtraction with regrouping, tackle 3 by 1 and 2 digit division, and master 2 by 2 digit multiplication. It’s a math smorgasbord!
Perfectly Structured: Each game comes with 12 questions, allowing for a full, immersive session without dragging it out. Plus, navigation is a breeze with interactive features like clickable numbers and a handy home button.
Versatility: Whether you’re looking to jazz up your math centers, provide engaging activities for early finishers, or differentiate your instruction, this bundle has got you covered.
What you get:
Once you get this fall interactive games bundle, you’ll find a series of PowerPoint games designed to keep kids engaged in learning addition, subtraction, multiplication, and division, along with 6 digit number place value practice. The goal? To make math engaging, interactive, and the highlight of your students’ day.
The main slides have interactive numbers with fun and exciting fall images that students can click on and go to that specific slide to solve.
Are you ready to learn how to make Boring Worksheets Fun in your next math class and make math the coolest part of your kids day . Try out these fun ideas and say goodbye to boring old traditional worksheets.
In this post I’ve got 11 super fun ideas to make math feel like a game. Imagine your students racing to finish math problems, playing bingo with math questions, or even turning your classroom into a mini escape room.
Let’s make sure learning math is not just about numbers but also about having a great time. And yes you can have fun in you math class even using your old math worksheets that maybe your district in mandating you to use.
1. Math Races:
I am all about healthy competition and honestly my kids even love it. All you have to do is give your students a competitive atmosphere by timing them as they complete their assigned math activities or worksheets. This will motivate them to finish quickly and accurately and turn the routine task into an exciting race against the clock.
2. Worksheet Bingo:
Another idea that you can implement is turn your normal daily worksheet problems into a bingo game. Which basically means with each correct answer you made your students to mark off a task or problem completed and check off a square. What can even motivate them more is to give them a small prize or award recognition for their effort or to the one that get a line first.
3. Math Puzzles:
Using puzzles as worksheets where with every problem that they solve gives them some clue for the next problem they need to solve. It can be a riddle, a hidden message, or a mystery that gets solved with each correct answer. I used on of these mystery puzzles worksheets for reviewing addition and subtraction inside my classroom and my kids just loved it.
4. Interactive Worksheets:
Using technology to turn your already made worksheets into interactive digital activities. This way you do not have o do the work again and still keep your kids engaged in fun way. Best way I do it is by turning the task cards in to images and then adding those task cards as background images inside Google Slides(TM) and add a text box on top of it for my kids to put their answers.
Second thing that you can do is insert the same task cards as images in Google forms(TM) and use the multiple choice option to create a multiple choice self Checking activity like this for your class, either way your kids are gonna love the special twist of learning experience you put on turning boring worksheet fun.
5. Group Challenges:
Team work in important for every classroom whether its ELA, math, arts or even music. No matter what you are teaching encouraging teamwork by having students work in small groups to complete the the assigned math task. This way they can develop their social and leadership skill along side learning which is a win win. Students can discuss strategies and help each other out which fosters a collaborative learning necessary for their future growth.
Creating activities like math mazes, puzzles or mystery activities gives them the opportunity they need to develop their collaborative skills and turn boring worksheets into fun learning experiences.
6. Real-World Application:
Connect math problems to real-life scenarios. This not only makes the worksheet more interesting but also helps students understand the practical application of what they’re learning.
7. Math Stations:
Set up different stations around the room, each with a math task or worksheet to complete. Students rotate through the stations that breaks the monotony of boring routine and adds movement and excitement to the class.
8. Creative Rewards:
Positive reinforcement is essential for kids to learn and get motivated to do better next time. You can give them their favorite snack as an award, a Home work pass or a chance to play their favorite game.
9. Incorporate Art:
Have them illustrate their mathematical thinking into art. This gives them the ability to develop further their problem solving skills and critical thinking skills.
10. Math Journals:
Math journals like goal journals and others can be useful. Instead of boring worksheets, have students keep math journals where they not only solve math problems but also write about their thought process, making the activity more reflective and personalized. This helps students organize their thought and develop creative thinking.
11. Escape Rooms:
Design worksheets that mimic an escape room challenge. Each correct answer helps “unlock” the next section until they “escape” by completing the entire sheet. This adds an element of adventure to the task.
Remember, the goal is to make learning math not just educational but incredibly fun too. So, try to use these strategies and ideas to your advantage, and turn boring worksheets fun and use them to your advantage. Here is one such example of an multi digit addition and subtraction escape roomI did in my that my kids totally loved.
Use this and see your students discover the joy in numbers, and most importantly, develop a lasting love for learning. Implementing all these ideas might require a bit more effort on your part but I assure you it will be 100% worth it.
Find the tips useful, share with other teacher friends!