Have you ever found yourself scanning through the room during math class, looking at a mix of bored faces, frustrated sighs, and the occasional doodler?
I know I have, and we’ve all been there. But the real challenge is making math both fun and educational for kids at the same time.
This might seem challenging during some teaching days, but what if I told you there’s a way to sprinkle a bit of autumn magic into your math lessons and get those hands eagerly shooting up with answers?
And yes, that’s possible! The best way to make kids fully involved and ready to solve some problems no matter how hard they are is by using interactive games. 🍂✨
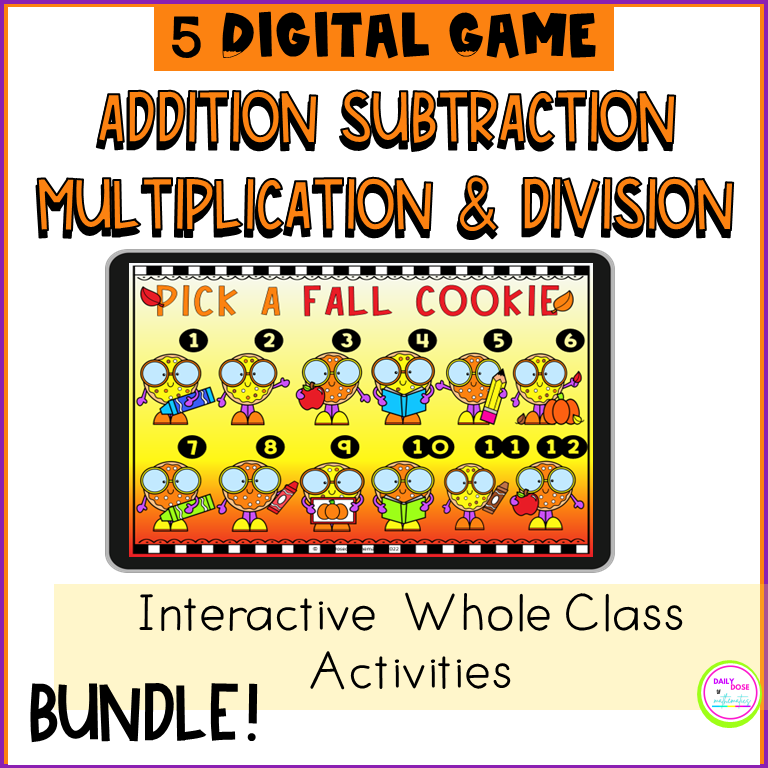
Use these interactive Fall-themed games in your classroom for small groups during centers or as a whole class activity and see the class engagement soar.
Here’s Why This Bundle is a Game-Changer:
Engagement Overload: With a delightful “Pick a Fall Cookie” Game, learning basic operations like addition, subtraction, multiplication, and division isn’t just another math lesson. It’s an experience. One where students eagerly click through questions, challenging themselves and having a blast while at it.
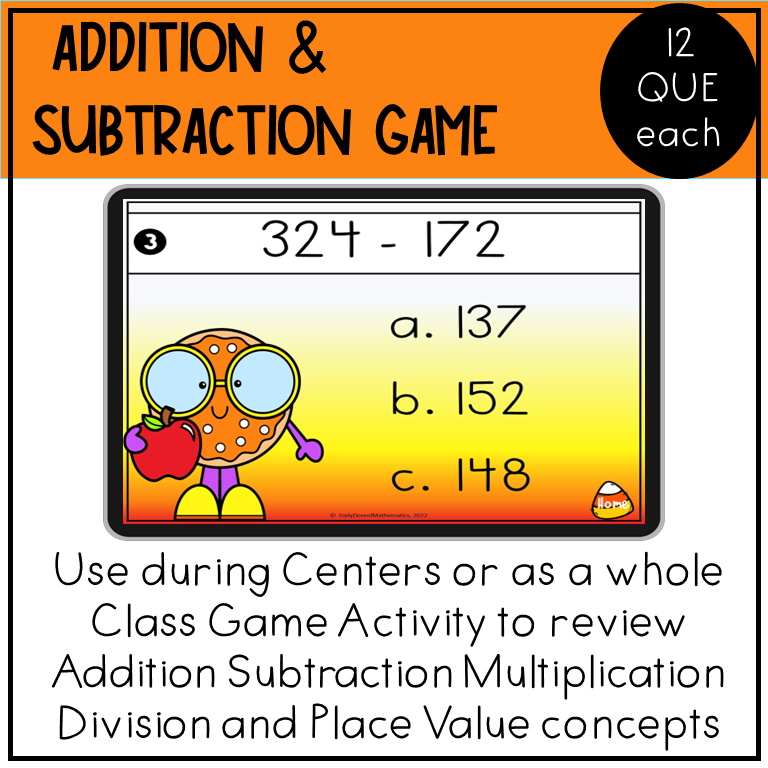
Comprehensive Coverage: This bundle isn’t just about practicing a single concept like division. Oh no! Your students will dive deep into 3 digit addition and subtraction with regrouping, tackle 3 by 1 and 2 digit division, and master 2 by 2 digit multiplication. It’s a math smorgasbord!
Perfectly Structured: Each game comes with 12 questions, allowing for a full, immersive session without dragging it out. Plus, navigation is a breeze with interactive features like clickable numbers and a handy home button.
Versatility: Whether you’re looking to jazz up your math centers, provide engaging activities for early finishers, or differentiate your instruction, this bundle has got you covered.
What you get:
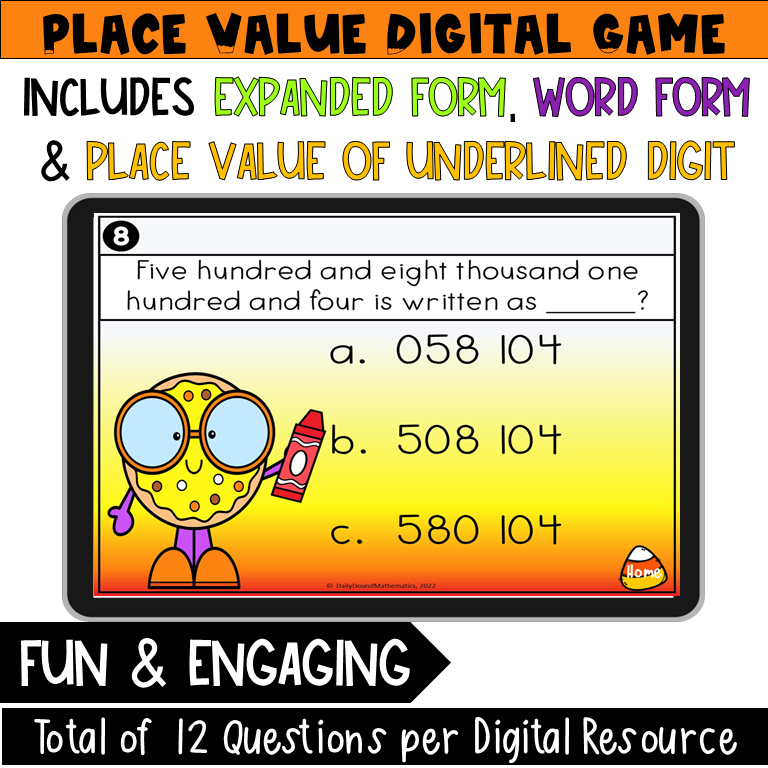
Once you get this fall interactive games bundle, you’ll find a series of PowerPoint games designed to keep kids engaged in learning addition, subtraction, multiplication, and division, along with 6 digit number place value practice. The goal? To make math engaging, interactive, and the highlight of your students’ day.
The main slides have interactive numbers with fun and exciting fall images that students can click on and go to that specific slide to solve.
The end of the school year is such a weird mix of emotions in the classroom. Your 5th graders are excited, everyone is a little sentimental, and honestly… completely checked out the second anything looks like a worksheet. Sound familiar?
It’s a struggle for most of use like EVERY SINGLE YEAR.
But here’s the thing: end-of-year math review does NOT have to feel painful (for you or them).
It can actually end up being one of the most fun parts of the year… especially if you’ve got the right activities ready to go.
Today I’m sharing three of my go-to end-of-year math activities for 5th grade. These are the ones my students actually get excited about (which is saying a lot this time of year).
And the best part? They’re still hitting all the major 5th grade math skills… so you’re keeping things fun and making sure nothing important gets missed. Total win.
Those last few weeks of school? The goal is basically to keep students engaged without it turning into chaos or busywork that nobody cares about.
These three activities make it a whole lot easier. No starting from scratch, no overthinking… just grab what you need and go. Let’s dive in.
1. EOY Math Craft — Build-a-Robot Craftivity
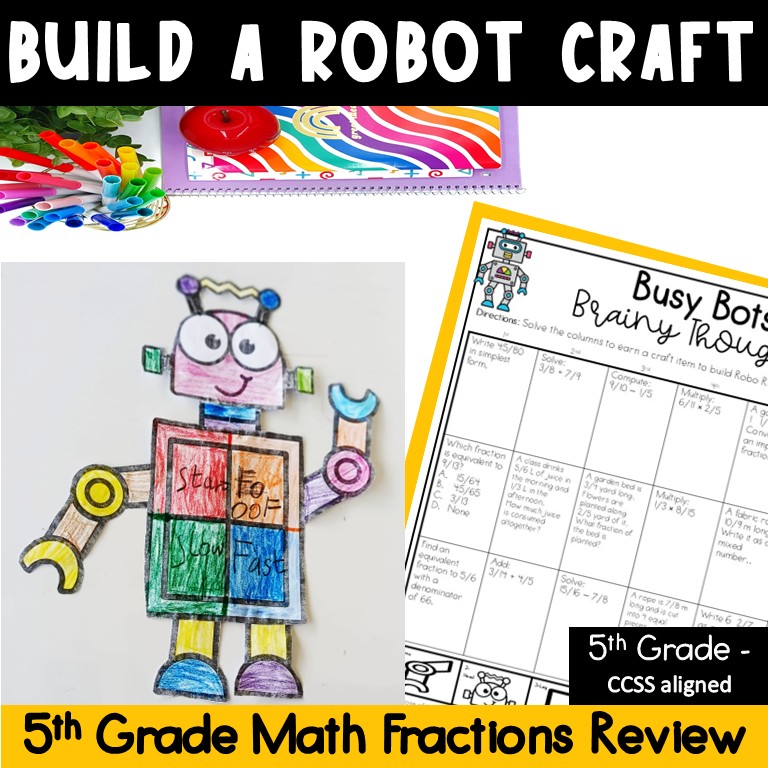
If you really want to see your 5th graders light up, bring out a math craft. I’ve learned over the years that when you mix creativity with actual content, engagement goes way up and this Build-a-Robot activity is a perfect example of that.
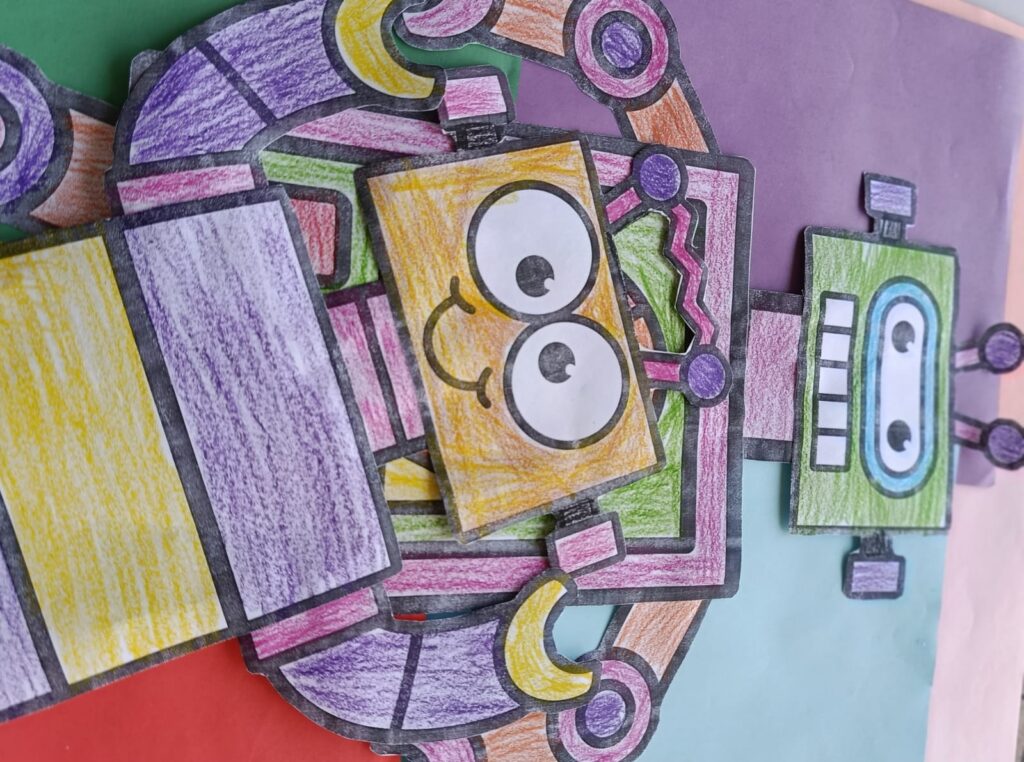
Here’s how it works: students solve math problems focused on fractions, decimals, and division. Every correct answer earns them a piece of their robot to cut out and build. By the end, you’ve got a classroom full of unique robots and honestly, one of the cutest bulletin boards of the year.
What I love most about this is that it doesn’t feel like a review. Students get so into building their robot that they stop complaining about the math and just… do it. You’ll see them actually sticking with problems instead of checking out.
It’s perfect for those last couple of weeks of school, a math celebration day, or even just a Friday when everyone (you included) needs something different.
Also, super low prep. Print it, hand it out, and you’re good to go. No complicated setup, which is exactly what you need this time of year.
Word Problems (real-world application and critical thinking)
I use this in a bunch of different ways depending on what we need.
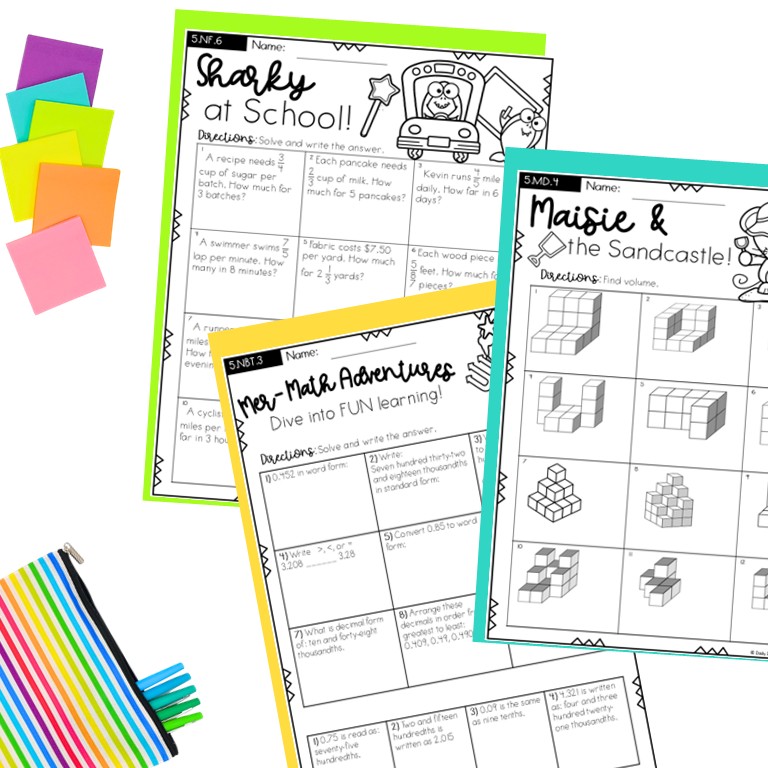
You can run it as a whole-class review, break it into stations, send it home as a summer bridge packet, or use it to help your students heading into 6th grade feel a little more confident.
It’s one of those resources you’ll keep coming back to because it just makes your life easier. Everything is laid out clearly, the pages are student-friendly, and you can either assign the whole thing or just pull the sections you need.
Task cards are one of my go-to ways to get students reviewing without them feeling stuck in their seats all day.
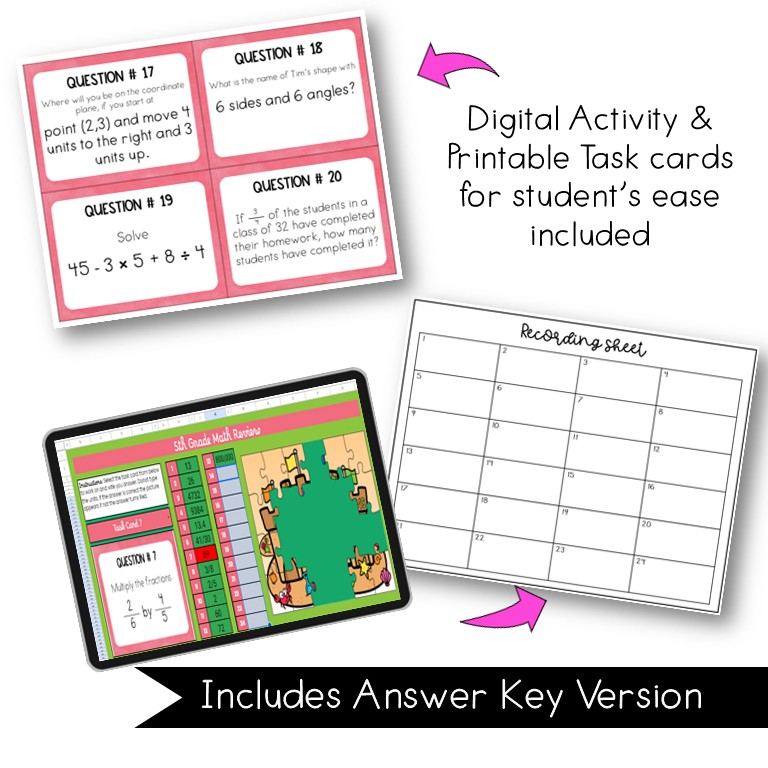
This set of 24 task cards works as a full spiral review of what your 5th graders have learned and it keeps things moving, which is key this time of year.
Students work through problems covering:
Order of Operations
Adding and Multiplying Fractions
Decimal Operations
Volume
Coordinate Plane
Geometry and Shape Classification
Real-World Word Problems
There’s also a recording sheet included, which makes it really easy to manage. Whether you’re using this as a center or just want some built-in accountability.
I personally love running this as a Scoot activity where students rotate around the room. They’re up, they’re moving, and they’re way more engaged than if they were stuck in their seats.
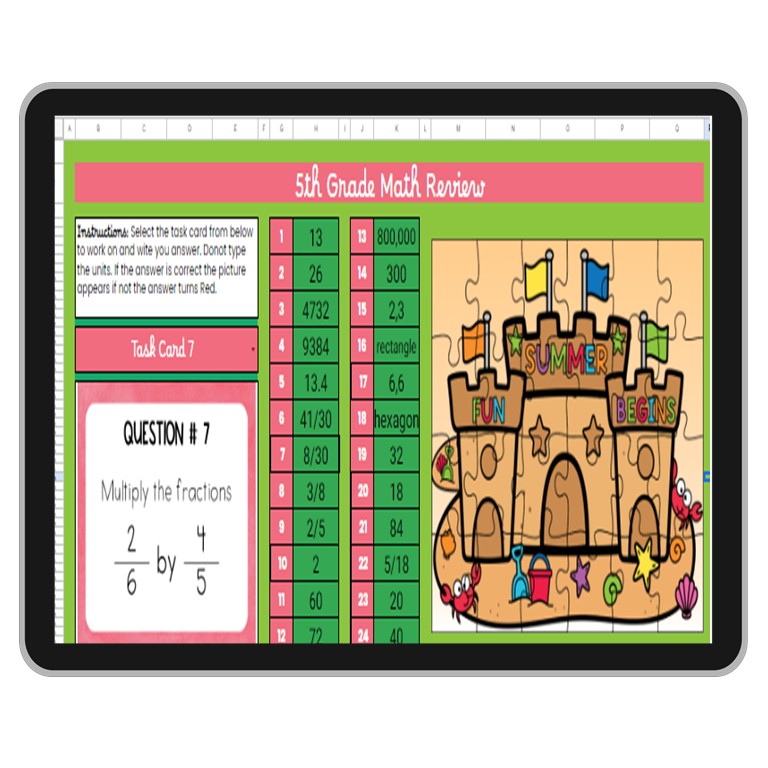
The pixel art piece is such a fun bonus especially for tech days. As students answer questions, a mystery image starts to appear little by little.
I swear, they get so into this part. It feels more like a game than a review, which is exactly what you want at the end of the year.
You can use this as a math center, early finisher option, partner activity, or even a whole-class review game it’s super flexible depending on what your day looks like.
Now that you’ve got a few solid activities ready, here’s an easy way to actually make them work during those final weeks.
Mix things up throughout the week so students don’t get bored. Maybe you do the craft one day, task cards the next, and sprinkle in the review packet when you need something more structured.
It doesn’t have to be complicated, just keep it varied.
You can also run the task cards during centers while you pull small groups to hit any last-minute gaps. This was always a lifesaver for me when I knew a few students needed extra support before moving on.
And not gonna lie, the finished robot crafts make the cutest bulletin board. My students love seeing their work up there, and it turns into a fun little end-of-year celebration without a ton of extra effort.
If you want to extend the learning, sending the review packet home as a summer bridge is a great option. It helps keep skills fresh before 6th grade but honestly, it works just as well for end-of-year review or even test prep.
At the end of the day, your students have worked really hard all year.
These last couple of weeks are a chance to keep learning going while also making things feel a little more fun and memorable.
Are you and your kids ready for some festive free fun St. Patrick’s Day spirit in your classroom?
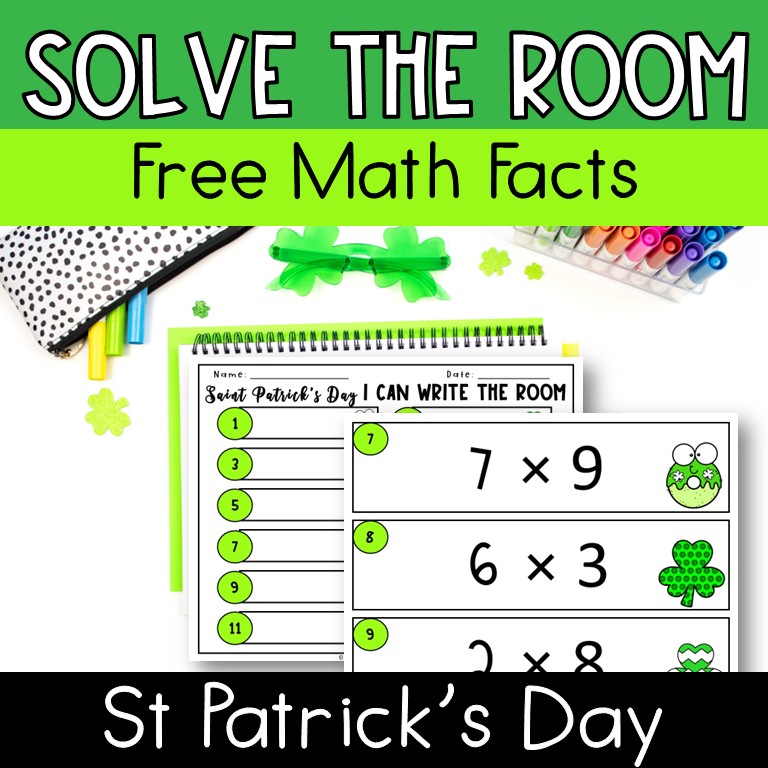
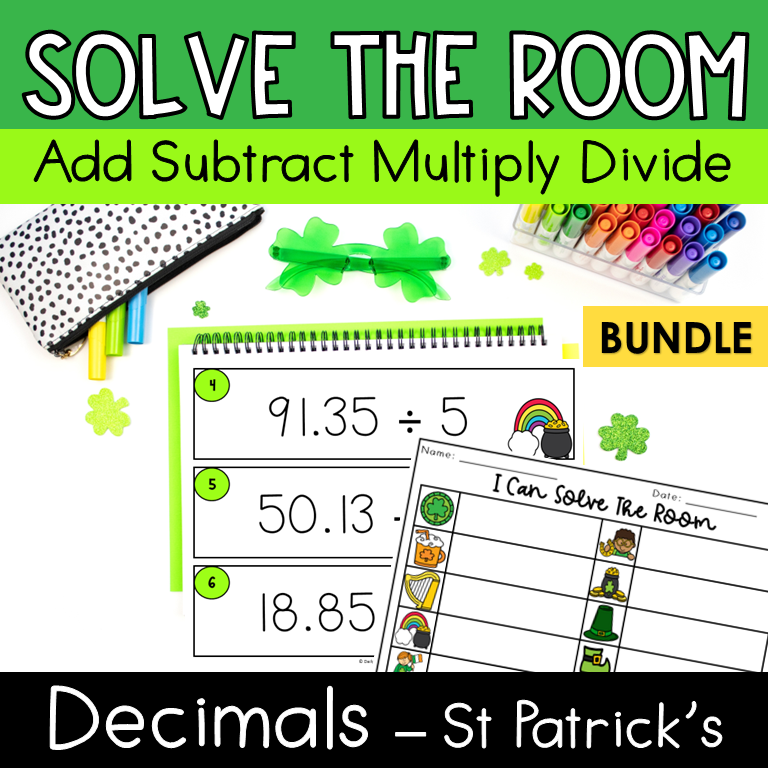
Solve the Room activities can be a very helpful resource for math practice and movement in you math classroom.
Upper elementary students greatly benefit from having a movement activity for basic math fact revision and practice what they have been learning.
However, using old, boring math fact practice sheets can have a few drawbacks, which is why I’m sharing in this post.
I think math teachers everywhere can agree that math fact fluency practice sheets can be very useful, especially when used as a pair activity.
Students are more likely to recall multiplication facts they have learned when they have a timed reminder, such as 1 or 3 minutes.
But… the problem with these activities is that they are not super fun things you can try in your classroom, especially during seasons.
This is the reason why, for me personally, this activity is something I use in my upper elementary math classroom whenever I feel like my kids need a break from their usual math learning and it’s time for some movement to keep students learning juice flowing.
So if it feels like you are facing the same problem, then here are my top 3 reasons why you should use Saint Patrick’s Day themed Scoot activities in your math class along with some more fun math activities you might like:
1. Encourages Movement and Interaction:
The ‘Solve The Room‘ aspect of this activity adds a physical aspect to learning.
Kids aren’t just sitting at their desks and practicing, instead, they’re moving around the classroom.
If integers make your students’ eyes roll, you’re not alone. Integers and their opposites, especially negative numbers, can feel abstract and confusing.
This is where students start mixing up subtraction with “opposites” or struggle to see how positive and negative numbers relate.
The good news? With the right visuals and activities, integers don’t have to be this overwhelming.
In fact, you can make them click for students in a way that actually sticks.
1. Start with Real-Life Examples
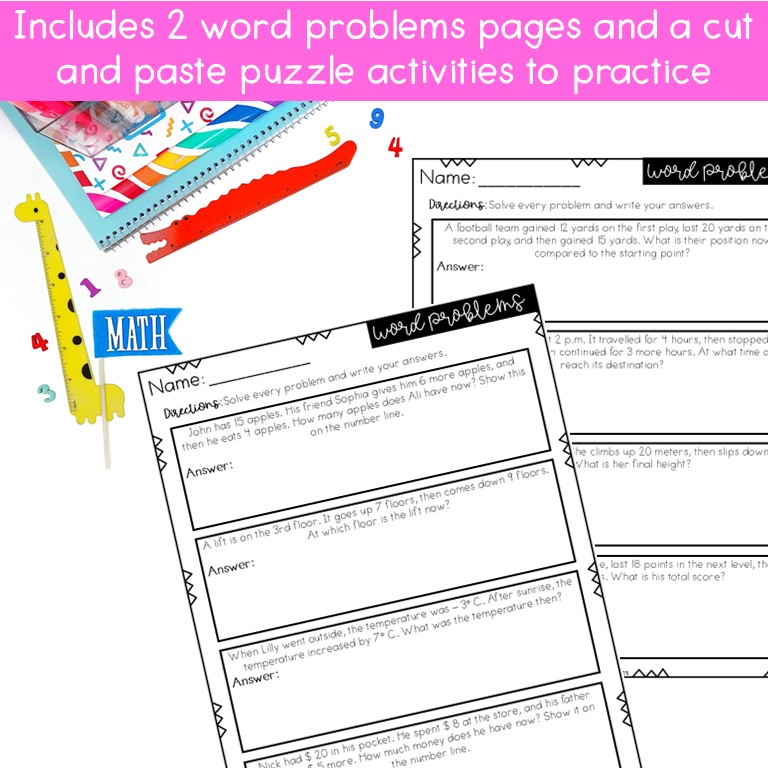
The fastest way to make integers feel less intimidating in grade 6 is to ground them in everyday life. A few examples that always land with my students are:
Temperature: Show how 10° above zero and 10° below zero represent opposites.
Elevation: Compare a mountain peak to a cave below sea level.
Money: Talk about having $20 in your bank account versus owing $20.
The goal here is to make the concept more relatable using the example, so the students can connect faster.
You can even ask them to share their own examples, maybe like sports scores or video game points going into the negative.
2. Use a Number Line for Integers and their Opposites
A number line is the foundation for understanding integers. You should first focus on making sure students understand integers using a number line.
When students see numbers laid out visually, they notice the symmetry: every positive number has a negative counterpart that is at the same distance from zero.
Highlight how +5 and -5 “mirror” each other.
Reinforce the idea that zero is the center, it’s neutral ground, so its negative is also 0.
Use visuals (a giant number line taped on the floor works wonders).
This method makes integers less of an abstract idea and more of a pattern they can see and interact with.
3. Introduce Integer Opposites as “Math Twins”
Kids love simple, fun language. Try describing opposites as math twins:
+3 and -3 are twinssame distance, different sides of zero.
Use hand motions: one hand moves right, the other moves left.
Have students physically “be the numbers” by standing on either side of a taped zero line in the classroom.
This builds a physical connection, visualizes the concept and gets them out of their seats (which is always a win).
4. Make it Interactive (Coloring + Games)
Here is the thing: students learn best when they do. Practicing is the key to success in math. Bring integers to life with:
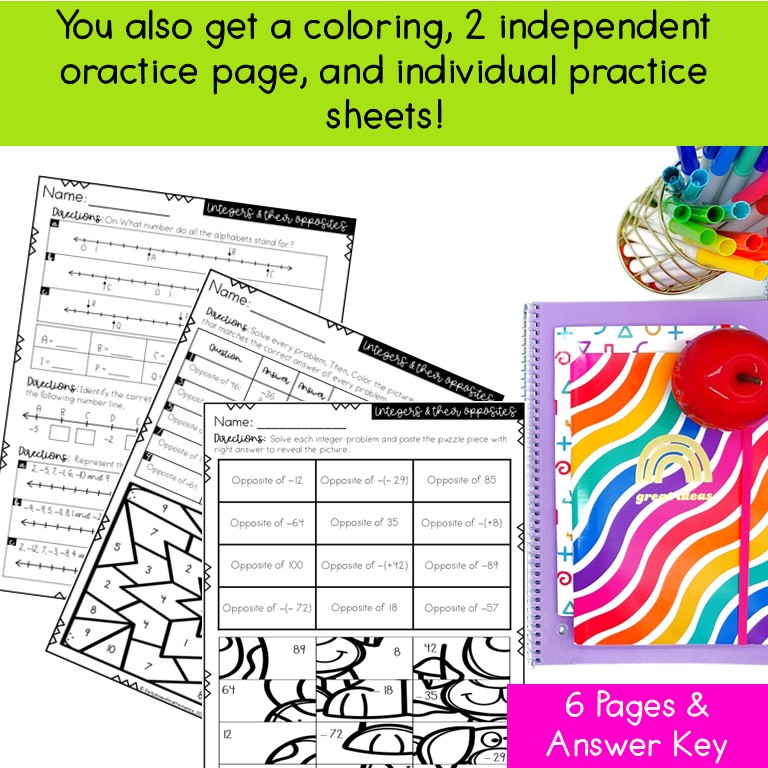
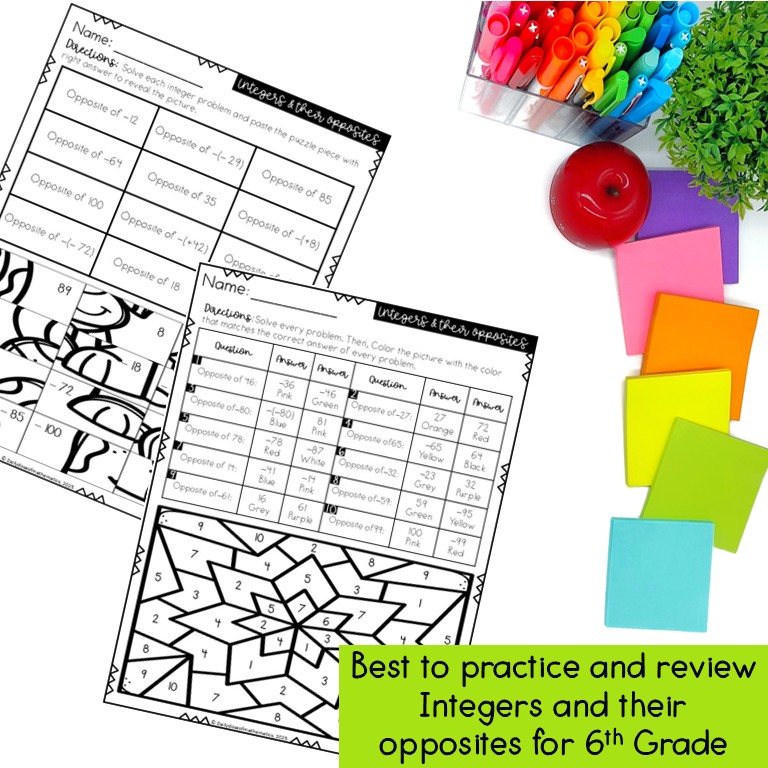
Coloring activities where each answer reveals a picture.
Matching games: pair positives with their opposites.
Scavenger hunts: hide cards around the room and let students find “integer pairs.”
Even after a lot of practice and explaining with strong visuals, some misconceptions pop up again and again: Here is a list of a few that I encounter again anad again:
Mixing up subtraction with opposites: For this, clarify that “the opposite of +4 is -4,” but “subtracting 4” is a different operation.
Thinking zero has an opposite: Reinforce that zero is its own buddy it has no opposite.
Believing negatives are always “smaller”: Explain that while -10 is less than -2, the distance from zero tells us size in terms of opposites.
Take a few minutes to address these early, and you’ll prevent bigger struggles in later concepts.
6. Wrap It Up
Teaching integers doesn’t have to be a headache for you or your students.
By combining real-life examples, number lines, and interactive activities, you’ll help students finally see opposites in a way that sticks.
And if you’d like even more freebies for your math classroom, join my email list, where I share grab-and-go resources like fraction operations for busy math teachers like you.
During my elementary math classroom, I like having games and activities that are not prep.
Why? Well, because it is easier for teachers to set them up and grade, and on top of that, kids ALWAYS love it when I teach subtraction and addition using board game worksheets.
In this blog post, I’m going to share 3 of the best resources you can use in your classroom to teach 3 digit subtraction and addition using worksheets.
First of all, teaching 3 digit subtraction and addition with and without regrouping isn’t just necessary at the start of the year. In fact, it’s better to set up the material as a year-long series resource that you just pull up and instantly use to teach.
Honestly, it can be hard to make something that you can use all year long. At least, it was always hard for me to decide what to use for practicing this basic addition and subtraction skill.
To overcome this problem, I created several 3 digit subtraction and addition worksheets that I keep with me whenever I need them during class.
Here are a few of them that you can use to make your life easier.
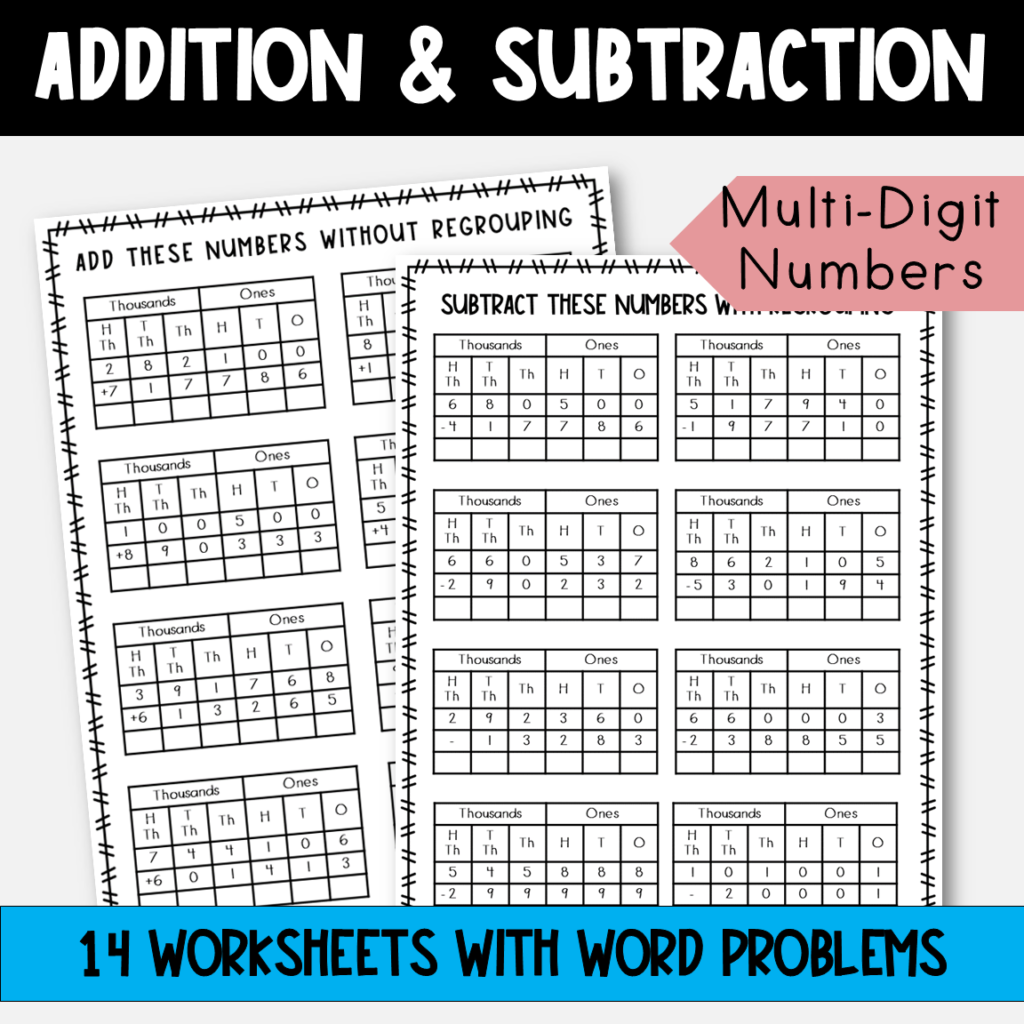
1. 3 Digit Subtraction and Addition Worksheets
As the name suggests, addition and subtraction with regrouping worksheets are best used when we are introducing these concepts to kids.
What you want at this stage is to allow your students to practice the skills they have learned without any distractions.
Once they have practiced enough, you can then use advanced pedagogical activities to reinforce their practice, like printable math board games, digital activities, or even coloring math worksheets.
This excites the students to work on their basics and get their practice done correctly.
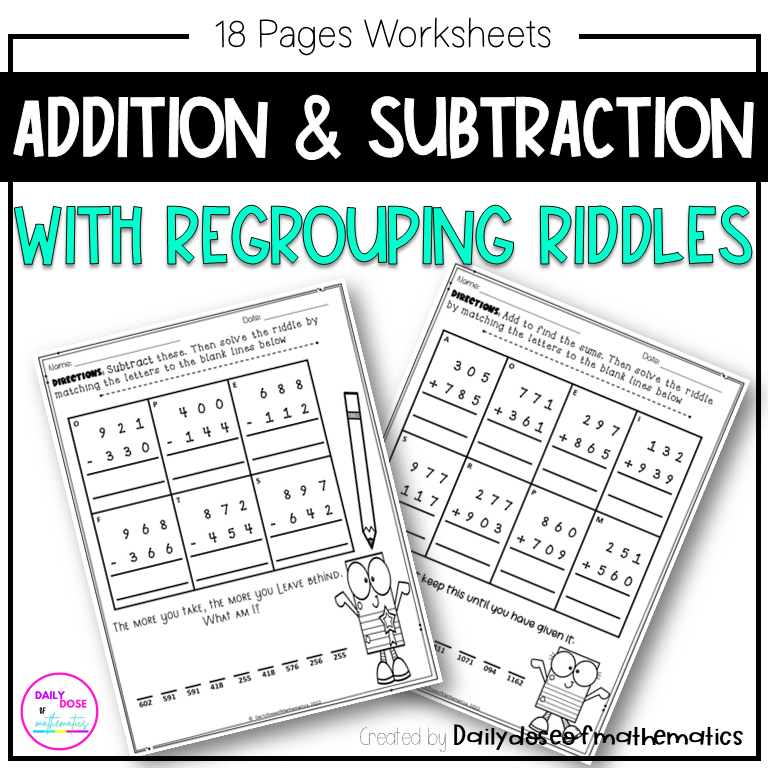
2. Addition and Subtraction Riddles Activity Worksheets
Honestly, who does not love to solve riddles? In my classroom, I always find my kids excited to practice math when done with riddles worksheets.
This activity is the single most used activity throughout my addition and subtraction practice class. Riddles not only keep them engaged in working on math but also keep them excited to know what the answer to the secret question is.
So if you want to make your kids practice 3 digit addition and subtraction, use riddle activities to keep them excited about working on their daily practice.
Another option would be to use it as a center activity or homework to reinforce what they have learned.
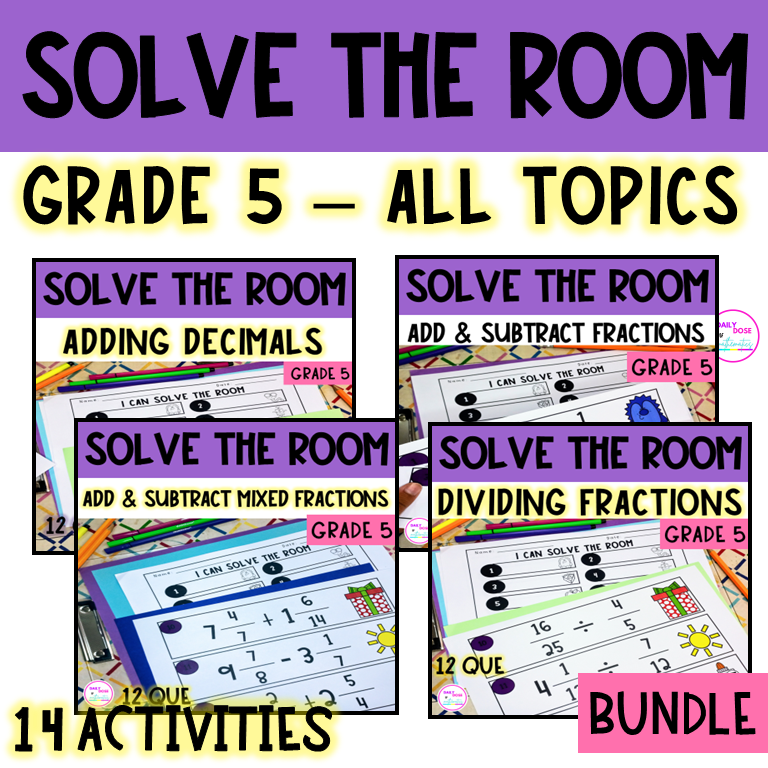
3. Solve The Room 3 Digit Addition and Subtraction Activity
Let’s face it math is a tough subject for some kids.
And whether you are new to teaching or you have been teaching for quite some time.
It can get frustrating to keep your kids engaged and excited to try new concepts. It can feel boring to go through the same activities day in and day out. But the good news is that it does not have to be!
If you want to make this tedious task more fun and engaging for your kids, WHY not incorporate the Solve the Room activity in your weekly math activities list?
It is not only fun and highly active, but can also be used to assess your student’s individual understanding of the concepts.
Here is how it works:
You place the question task cards at different stations inside your classroom. Give each of your students a recording sheet that they can use to solve and write their answers.
Students hop from one station to the other, solving the problems. If they get stuck, they can come to me for some help.
You can use Solve the Room activities for every 5th grade math topic. I use it for almost every 5th grade math topic, like Addition and Subtraction of Whole numbers, Fractions, and Decimals.
But just in case you do not want to make these activities yourself and want to save your valuable time, then I have one inside my TPT store for you to check out. Click here to check!
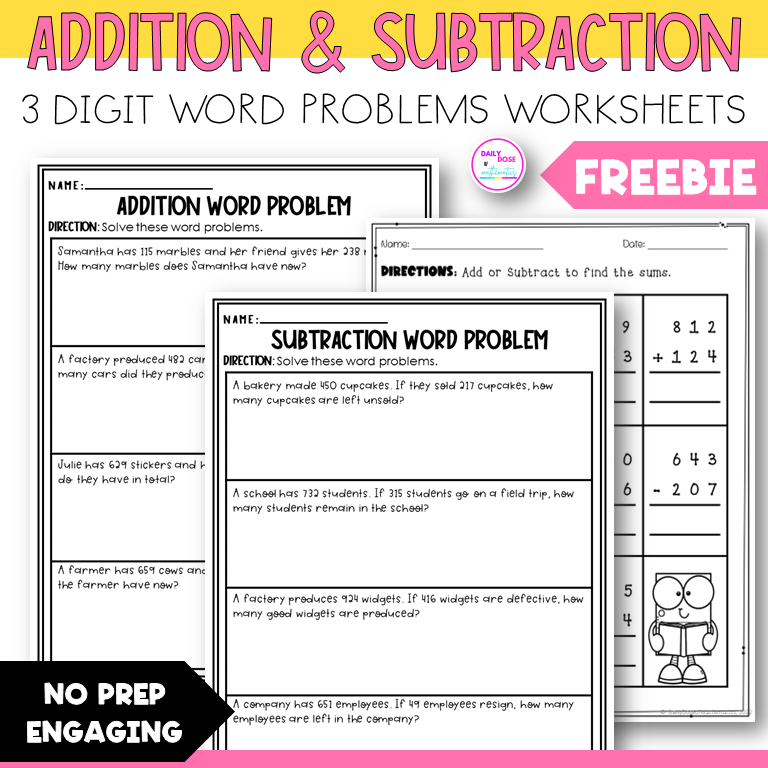
Looking for a 3 digit addition problem worksheets to practice 3 digit addition or subtraction with your students? Look no more because I got you covered.
Helping students work on word problems is a daunting task.
Especially if you are trying to encourage them to think independently on math problems and solve them on their own.
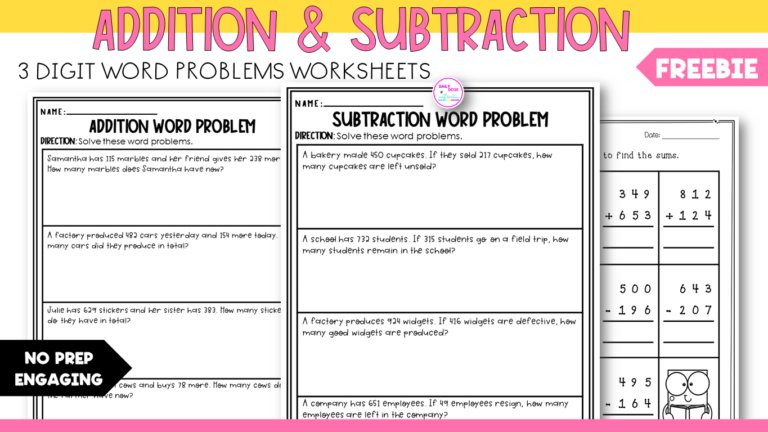
That is why I have created these fun and engaging 3 digit word problem worksheets that are free for you to grab and teach now.
Print the problems you want your students to work on and hand them to your class. Students can solve the word problems independently, or you can help them complete the task.
What I like to do in my class is put them in pairs. This way, even if one of the kids gets stuck, they can help each other out and figure out the solution.
Here are a few benefits of using 3-digit word problems worksheets in your classroom
Increase in reasoning and problem solving skills
More understanding of the topic by using comprehension skills
Able to break down more significant concepts into small problems
Are you ready to learn how to make Boring Worksheets Fun in your next math class and make math the coolest part of your kids day . Try out these fun ideas and say goodbye to boring old traditional worksheets.
In this post I’ve got 11 super fun ideas to make math feel like a game. Imagine your students racing to finish math problems, playing bingo with math questions, or even turning your classroom into a mini escape room.
Let’s make sure learning math is not just about numbers but also about having a great time. And yes you can have fun in you math class even using your old math worksheets that maybe your district in mandating you to use.
1. Math Races:
I am all about healthy competition and honestly my kids even love it. All you have to do is give your students a competitive atmosphere by timing them as they complete their assigned math activities or worksheets. This will motivate them to finish quickly and accurately and turn the routine task into an exciting race against the clock.
2. Worksheet Bingo:
Another idea that you can implement is turn your normal daily worksheet problems into a bingo game. Which basically means with each correct answer you made your students to mark off a task or problem completed and check off a square. What can even motivate them more is to give them a small prize or award recognition for their effort or to the one that get a line first.
3. Math Puzzles:
Using puzzles as worksheets where with every problem that they solve gives them some clue for the next problem they need to solve. It can be a riddle, a hidden message, or a mystery that gets solved with each correct answer. I used on of these mystery puzzles worksheets for reviewing addition and subtraction inside my classroom and my kids just loved it.
4. Interactive Worksheets:
Using technology to turn your already made worksheets into interactive digital activities. This way you do not have o do the work again and still keep your kids engaged in fun way. Best way I do it is by turning the task cards in to images and then adding those task cards as background images inside Google Slides(TM) and add a text box on top of it for my kids to put their answers.
Second thing that you can do is insert the same task cards as images in Google forms(TM) and use the multiple choice option to create a multiple choice self Checking activity like this for your class, either way your kids are gonna love the special twist of learning experience you put on turning boring worksheet fun.
5. Group Challenges:
Team work in important for every classroom whether its ELA, math, arts or even music. No matter what you are teaching encouraging teamwork by having students work in small groups to complete the the assigned math task. This way they can develop their social and leadership skill along side learning which is a win win. Students can discuss strategies and help each other out which fosters a collaborative learning necessary for their future growth.
Creating activities like math mazes, puzzles or mystery activities gives them the opportunity they need to develop their collaborative skills and turn boring worksheets into fun learning experiences.
6. Real-World Application:
Connect math problems to real-life scenarios. This not only makes the worksheet more interesting but also helps students understand the practical application of what they’re learning.
7. Math Stations:
Set up different stations around the room, each with a math task or worksheet to complete. Students rotate through the stations that breaks the monotony of boring routine and adds movement and excitement to the class.
8. Creative Rewards:
Positive reinforcement is essential for kids to learn and get motivated to do better next time. You can give them their favorite snack as an award, a Home work pass or a chance to play their favorite game.
9. Incorporate Art:
Have them illustrate their mathematical thinking into art. This gives them the ability to develop further their problem solving skills and critical thinking skills.
10. Math Journals:
Math journals like goal journals and others can be useful. Instead of boring worksheets, have students keep math journals where they not only solve math problems but also write about their thought process, making the activity more reflective and personalized. This helps students organize their thought and develop creative thinking.
11. Escape Rooms:
Design worksheets that mimic an escape room challenge. Each correct answer helps “unlock” the next section until they “escape” by completing the entire sheet. This adds an element of adventure to the task.
Remember, the goal is to make learning math not just educational but incredibly fun too. So, try to use these strategies and ideas to your advantage, and turn boring worksheets fun and use them to your advantage. Here is one such example of an multi digit addition and subtraction escape roomI did in my that my kids totally loved.
Use this and see your students discover the joy in numbers, and most importantly, develop a lasting love for learning. Implementing all these ideas might require a bit more effort on your part but I assure you it will be 100% worth it.
Find the tips useful, share with other teacher friends!