One of the most exciting things about March is that we can help students build a strong fraction operations foundation using themed math activities like St. Patrick’s Day.
If you are working on one of vital foundational skills like fractions or math facts review this post is for you.
In this post, I’m going to share some tips and lesson activities for you to help you learn how to teach fractions and decimal operations in 5th grade in a way that will stick with your students!
So, get ready to sprinkle some leprechaun magic into your math classroom using these 5 best Saint Patrick’s Day math activities for upper elementary students!
Why Teach 5th-grade Math Concepts Using March-Themed Lessons?
Themed activities should not just be fun, but can also bring meaningful practice in classroom learning.
They are the best way to reinforce key concepts when students need extra motivation. They can help you:
- Builds skill fluency before spring testing season
- Reinforces key skills through engaging review
- Helps students apply concepts in meaningful contexts
- Supports differentiated instruction easily
- Encourages active participation and discussion
- Makes practice feel less repetitive
So, if this is something you want with your kids, try out one of these activities:
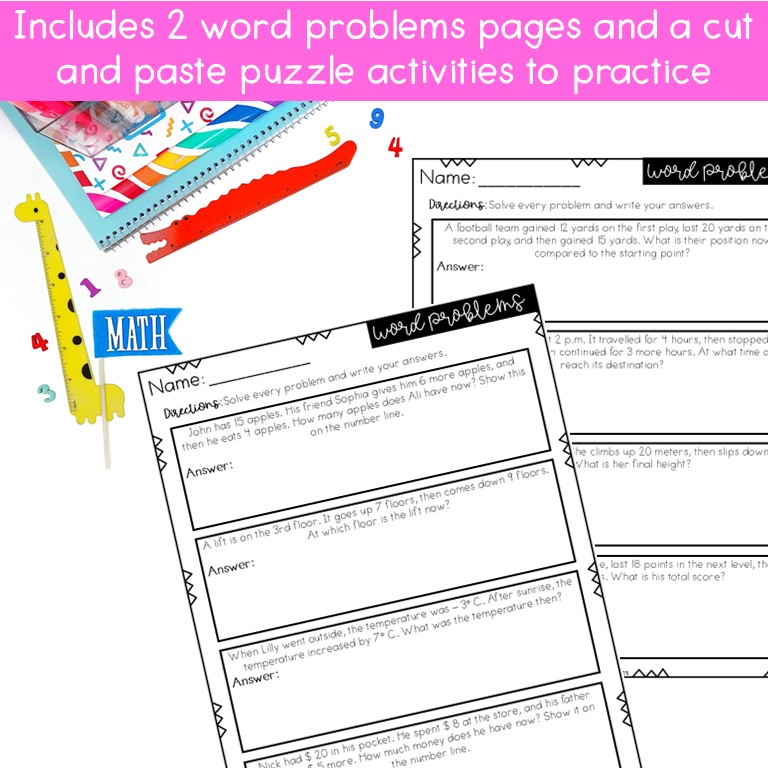
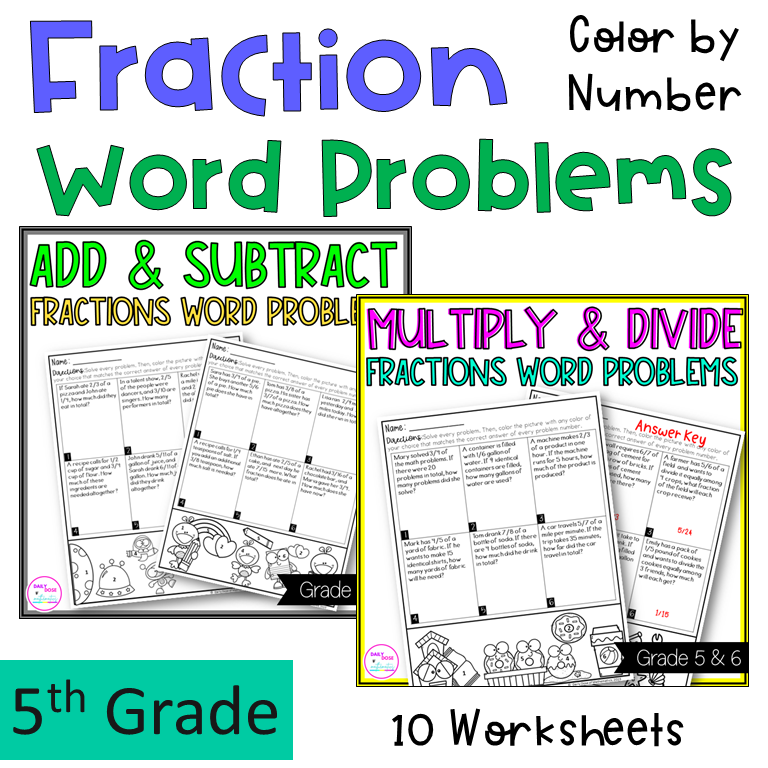
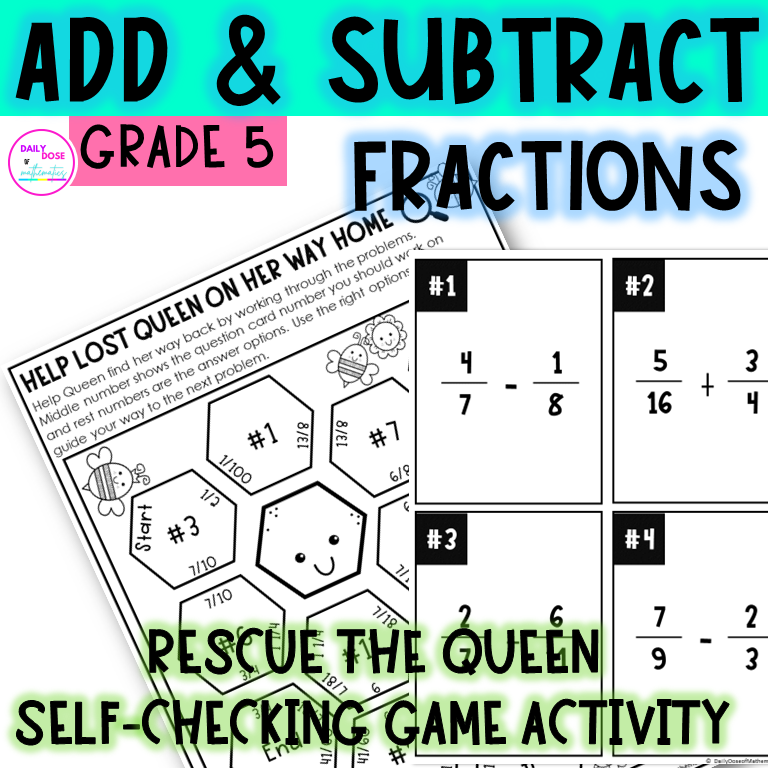
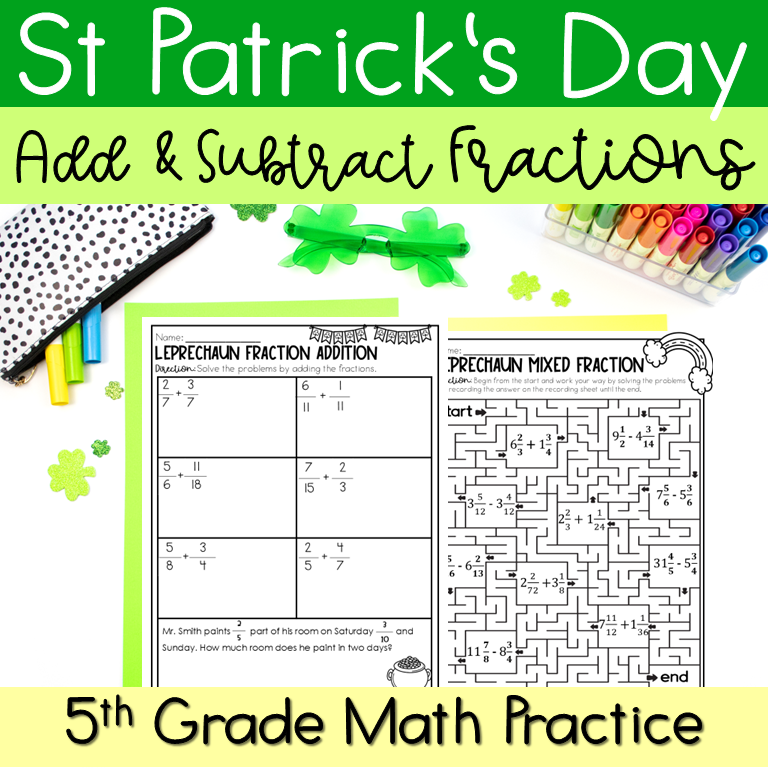
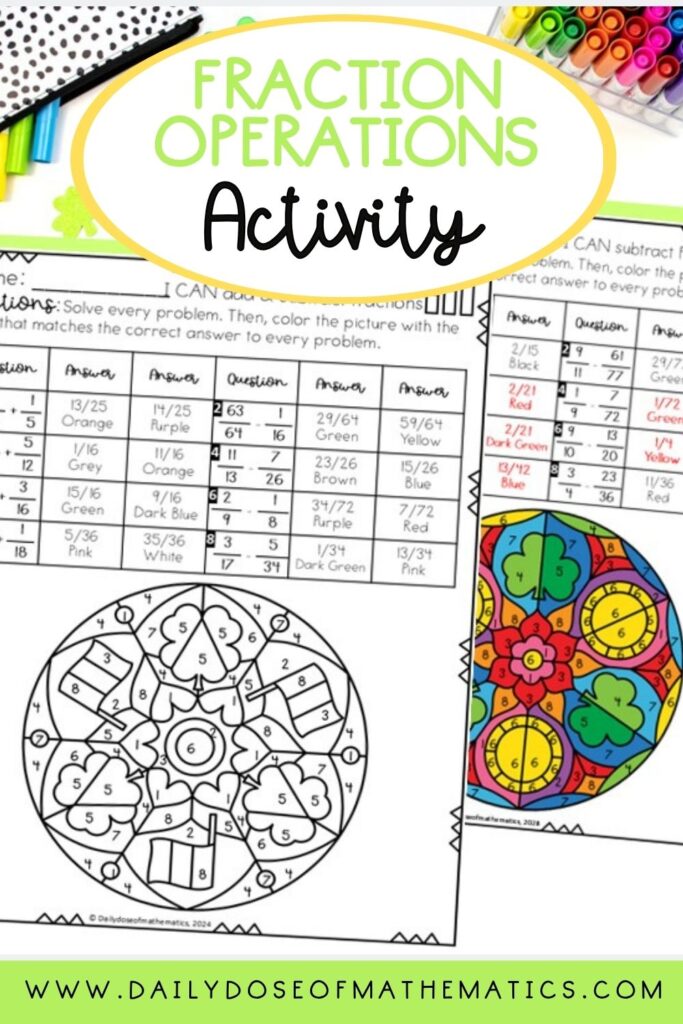
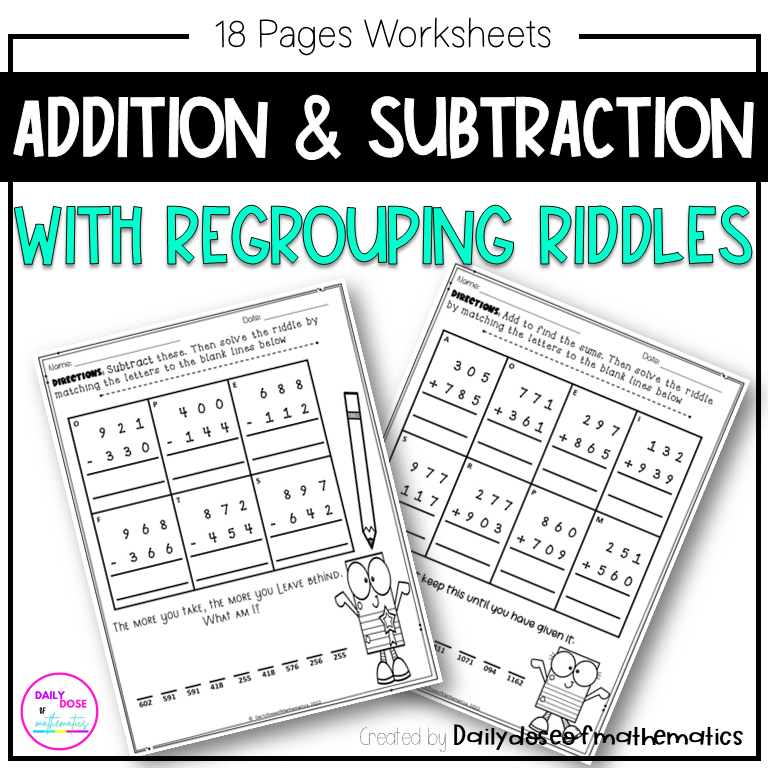
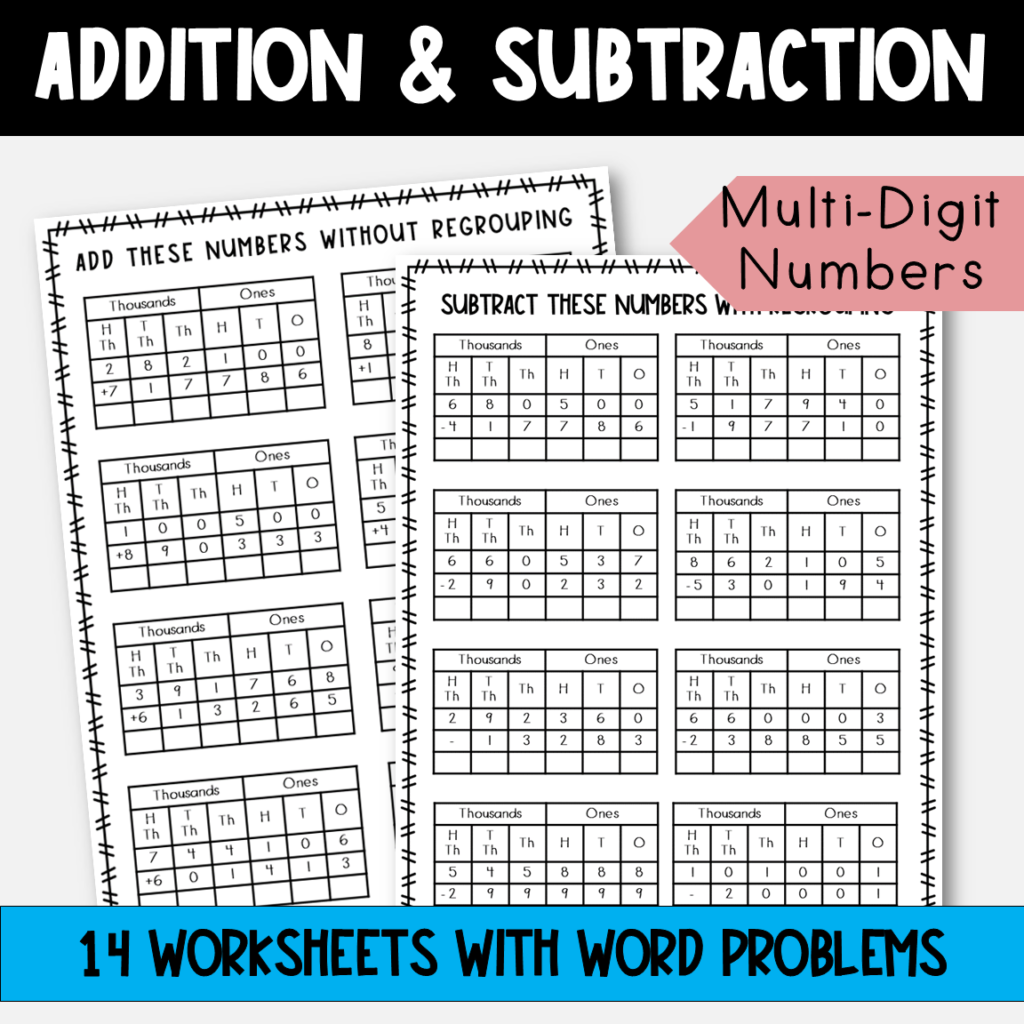
Saint Patrick’s Day Fractions Operations Worksheets with Word Problems
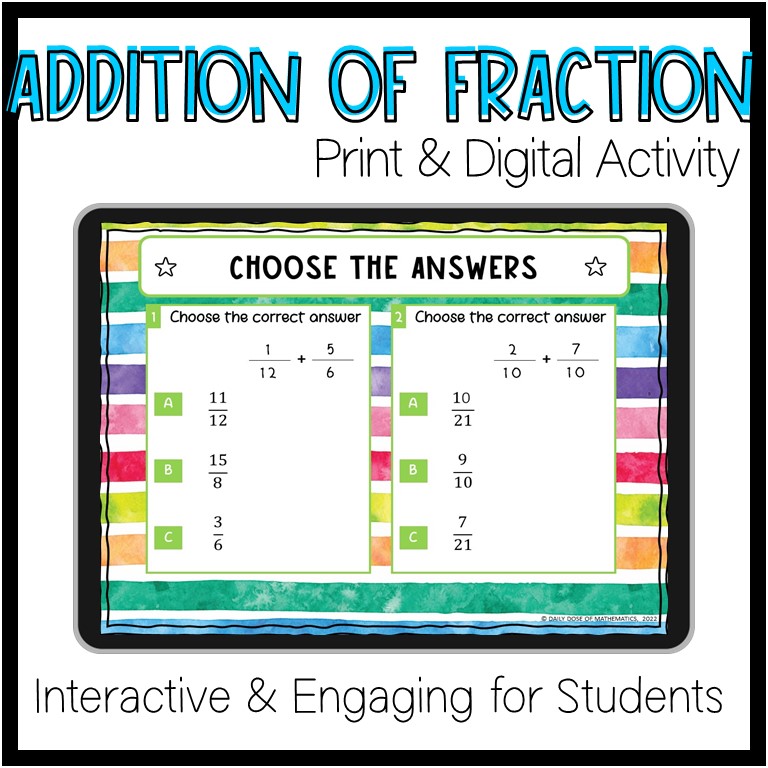
If you’re looking for a way to support your students with fraction addition and subtraction with unlike denominators without filling up your math centers with boring activities, I have the perfect solution!
I have put together this packet of fraction review worksheets that you can use to review fraction operations that they have learnt this year.
The pack not only includes fraction review worksheets, but also includes self-checking mazes and a word search you can use for the early finishers in your class.
Do not need something to practice, but rather need something to test their knowledge?
The packet also includes 2 pages of multiple-choice question-style worksheets you can use as an assessment to test their understanding.
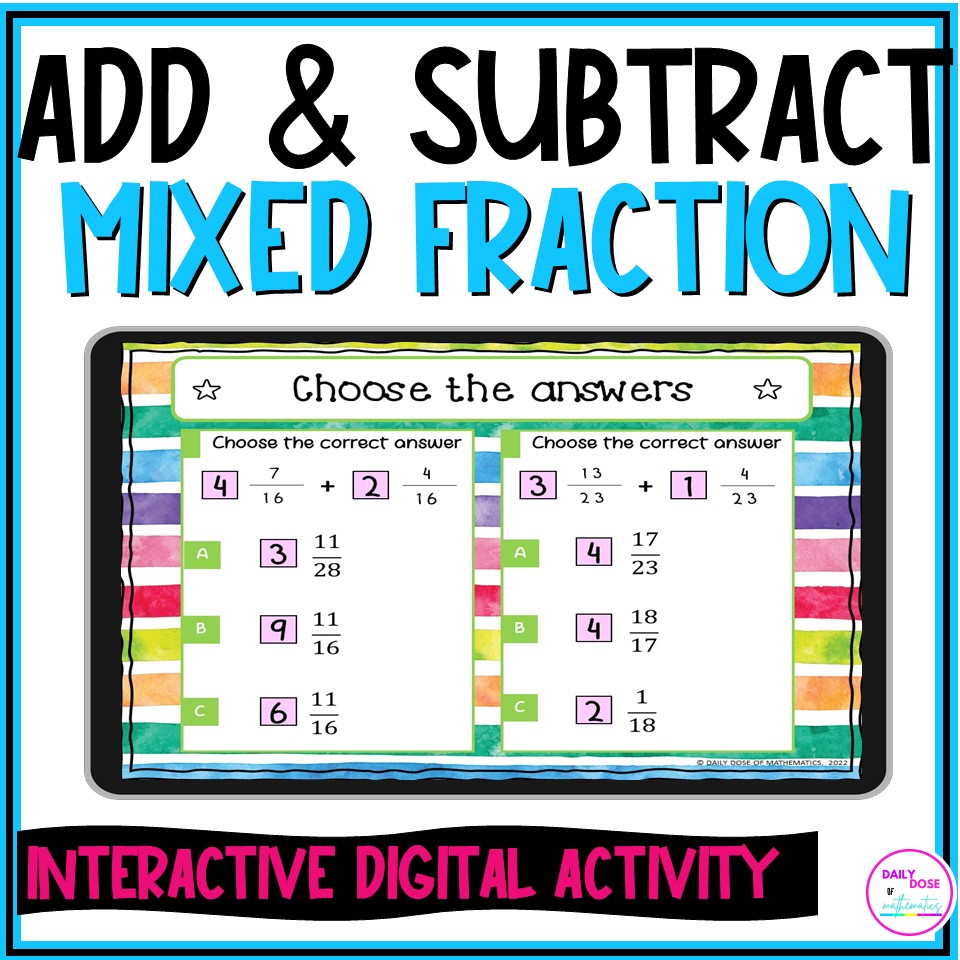
One thing I love about this packet is that it includes a whole lot of ways I can get them to practice fraction addition and subtraction.
So, whether they’re asked to solve addition and subtraction of fractions, these worksheets will keep them engaged, challenged, and entertained throughout their math journey.
But wait, there’s more! The pack is best equipped with so much more fun like word search and coloring fun.
You can keep a set of these activities copied at your small group table and pull out the most appropriate one you need for each group to try.
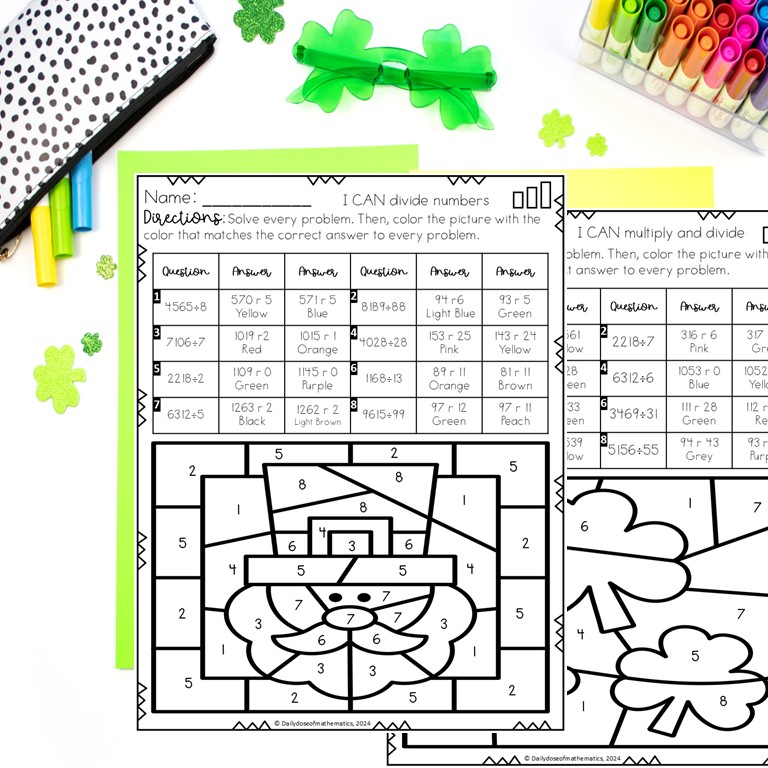
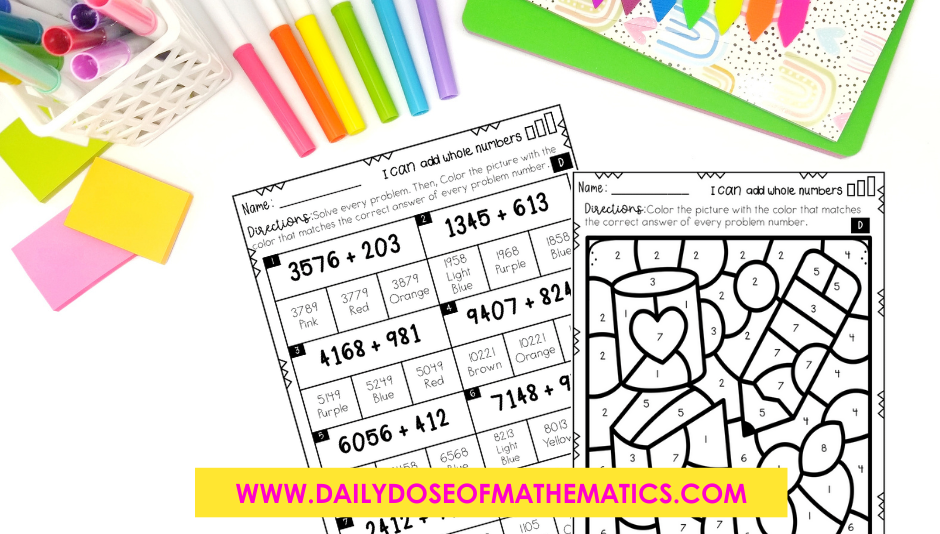
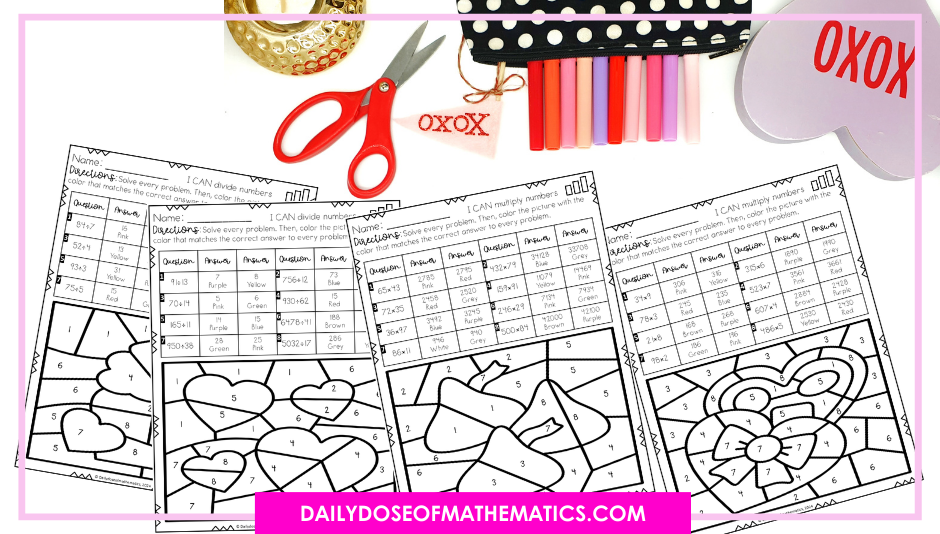
Saint Patrick’s Day Math Coloring Worksheets
These math coloring pages are also a great tool for increasing student independence at centers time or during morning work.
If you are practicing math multiplication or division facts and need them to go beyond and try multidigit multiplication or division, you can do that by using these Saint Patricks activities during their centers.
These provide an easy but rigorous practice to help kids be more independent in their basic whole number operations.
So, why settle for boring math practice when you can add a splash of Saint Patrick’s Day magic to your lessons?
Let’s make basic operations like addition and subtraction or even division fun, engaging, and unforgettable with these worksheets!
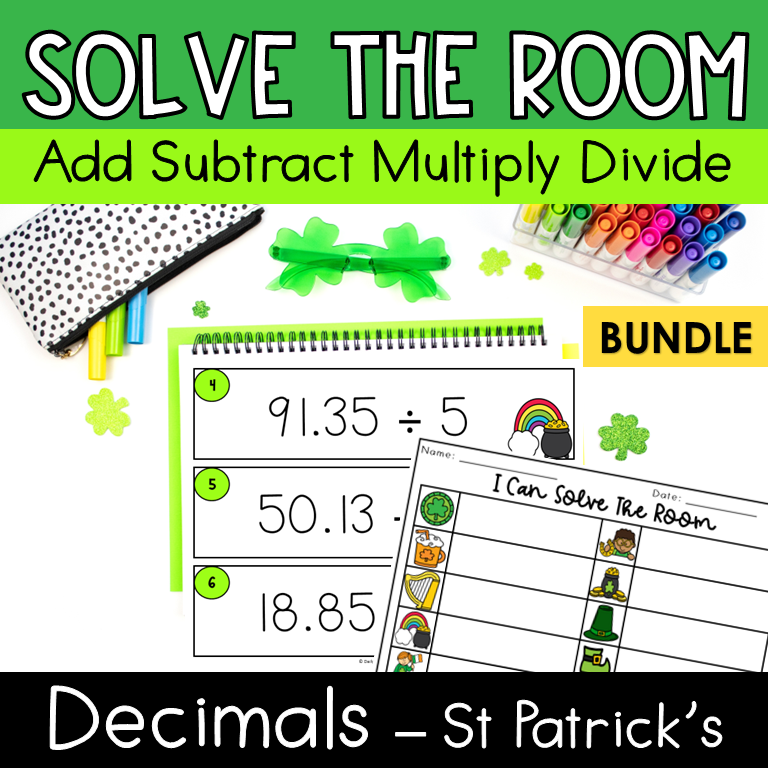
St Patrick’s Day Decimal Operations Activity
Are your students struggling with adding and subtracting decimals? It might not feel like a difficult skill to you but for 5th graders it’s a lot.
The one concept I have seen students get stuck on is the idea of understanding the decimal place values. They usually align their numbers wrong, which then gives a wrong answer.
So this March, if you want to help kids master decimal operations. Let them practice it in a way that is both meaningful and movement-based.
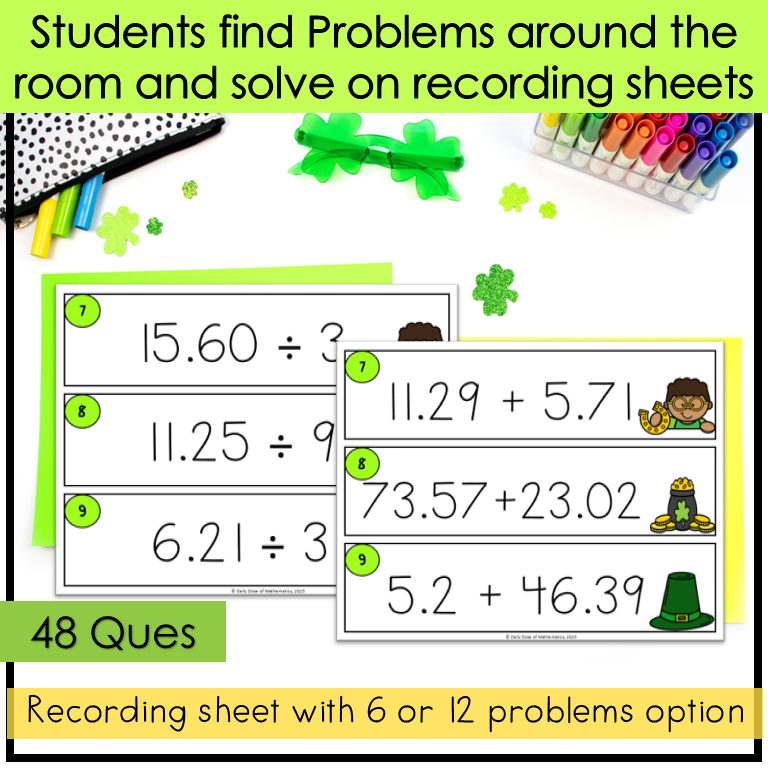
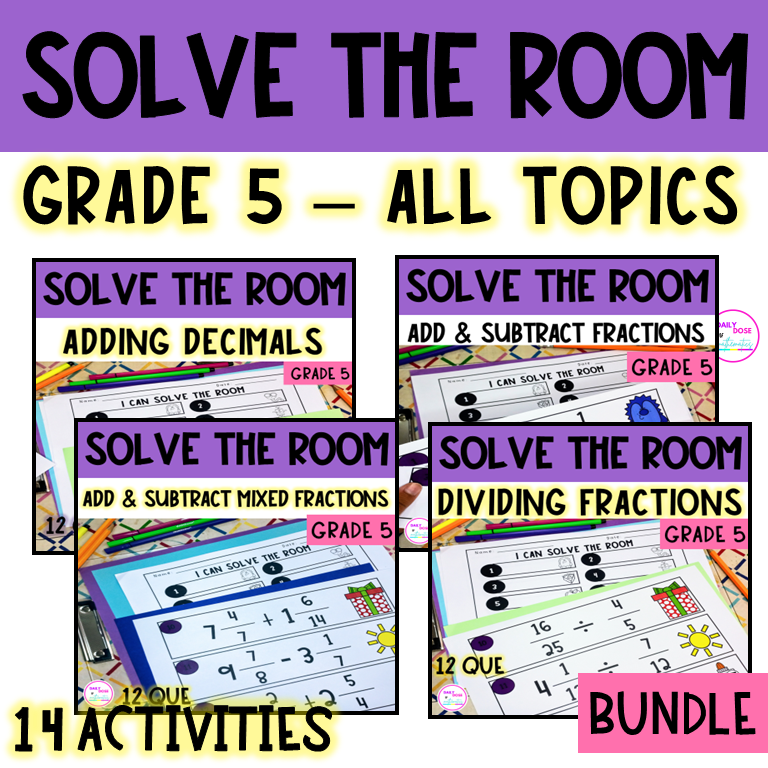
Saint Patrick’s Day Decimals Solve the Room Activity
Solve the Room activities are similar to scavenger hunts without the self checking part.
Here is how it works:
- Display the decimal problems inside classroom for kids to find
- Students navigate the room and solve each problem
- They engage in active learning, moving, and collaborating with their fellow
- Record their answer on a recording sheet until all problems are done.
So, are you ready to turn your classroom into a math-filled treasure hunt this St. Patrick’s Day?
Try these activities and make decimal operations an adventure to remember!
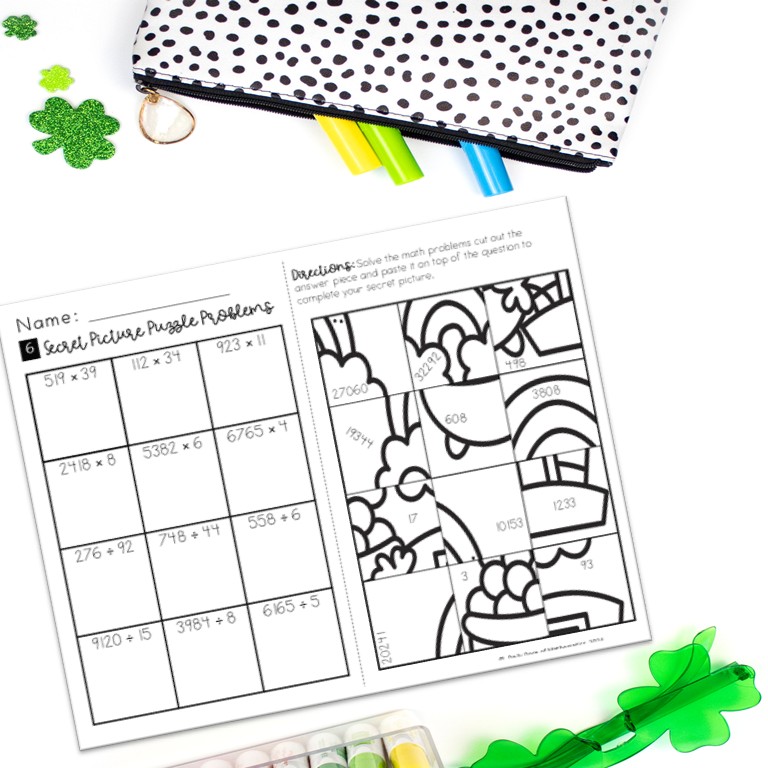
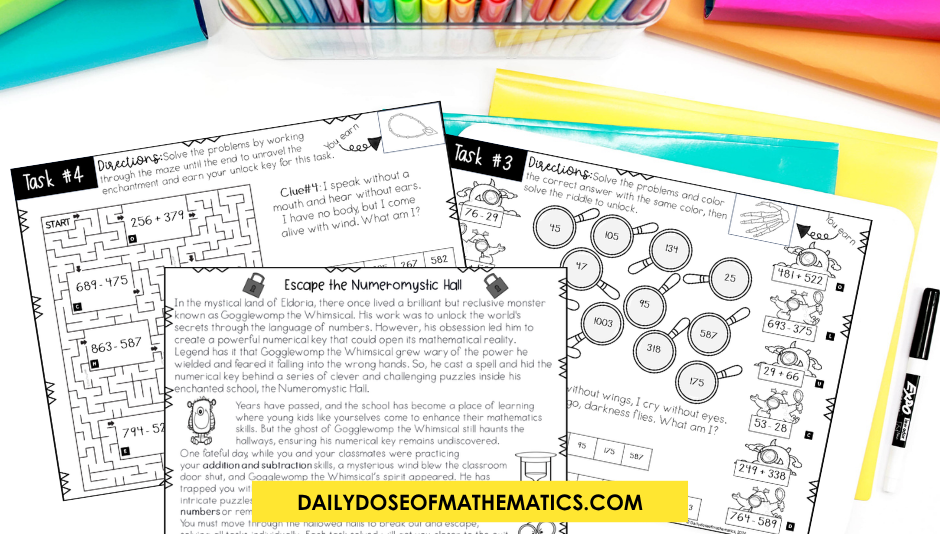
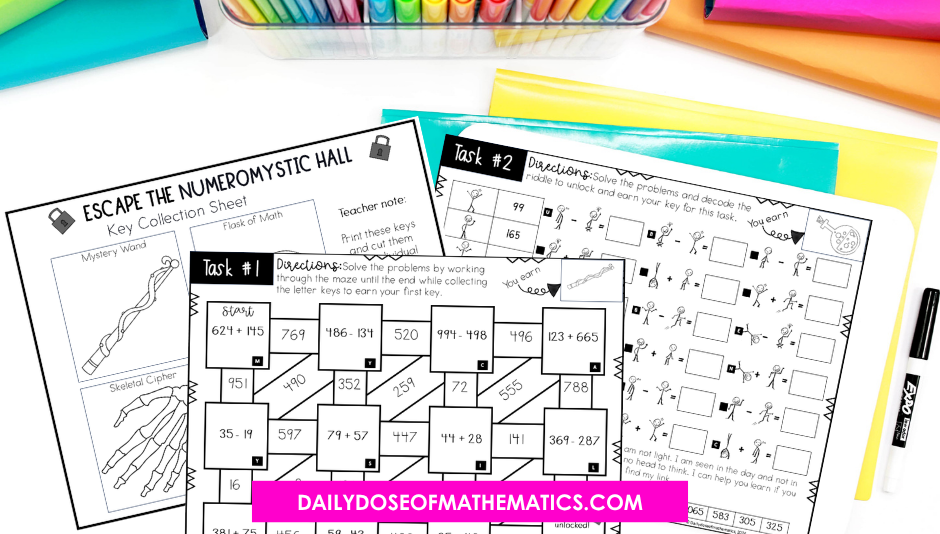
Saint Patrick’s Day Secret Picture Puzzles
For upper elementary students, repetition is key when it comes to learning multi digit multiplication and division. They need plenty of practice with multiplication math fact fluency before they can master these skills.
In order to keep students engaged in multiplication and division, you need plenty of activities in our teacher toolboxes!
That’s why I wanted to share some hands-on March themed activities that your students will love!
If you’re looking for a hands-on way to help students practice multiplication or division, check out this mystery picture activity!
All you need to do for this low-prep activity is print off the worksheet and cut out the puzzle pieces! You can cut them out yourself, or let your students cut them.
These secret picture puzzles can be used in many different ways, which is helpful for differentiation and engagement.
You can use these printable activities for math centers, morning work, small group practice, or even for fast finishers!
No matter how you decide to use these activities, your students will benefit from the extra practice with multiplication and division!
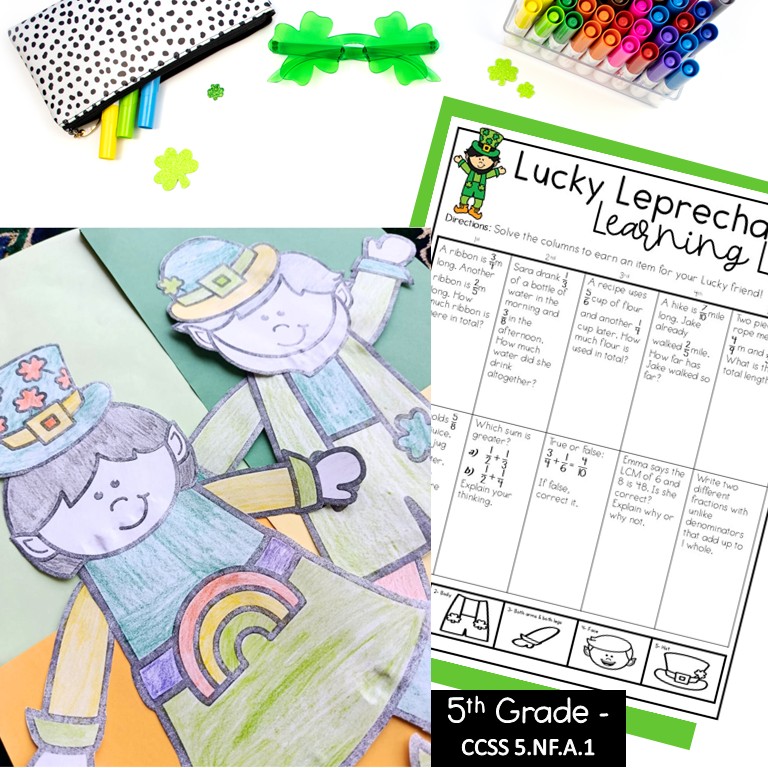
St. Patrick’s Day Themed 5th Grade Math Craft
Lastly, there are math crafts that are not just fun but also include common core-aligned practice so your students move forward in their math progress.
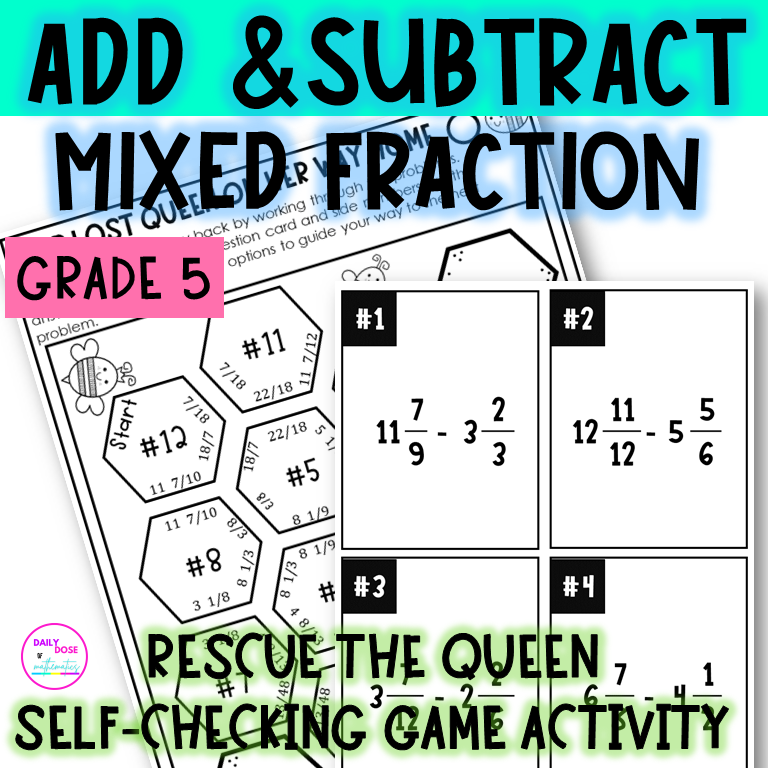
This fraction math craft activity is perfect for centers because it is self-correcting and rewarding!
Students solve 3 math problems and come back to you to collect their craft item.
After checking their answers, the teacher hands them a craft piece that they have earned and will use to build their lucky leprechaun friend.
It’s like a perfect reward-based activity kids need during this time of the year.
Want something fun and free to use in your class check this Free Saint Patty’s day activities!
Want to be set for the whole year of upper elementary math centers without paying your whole teaching salary. Check out this Mega Math Centers bundle currently at 75% off!